July 3, 2026
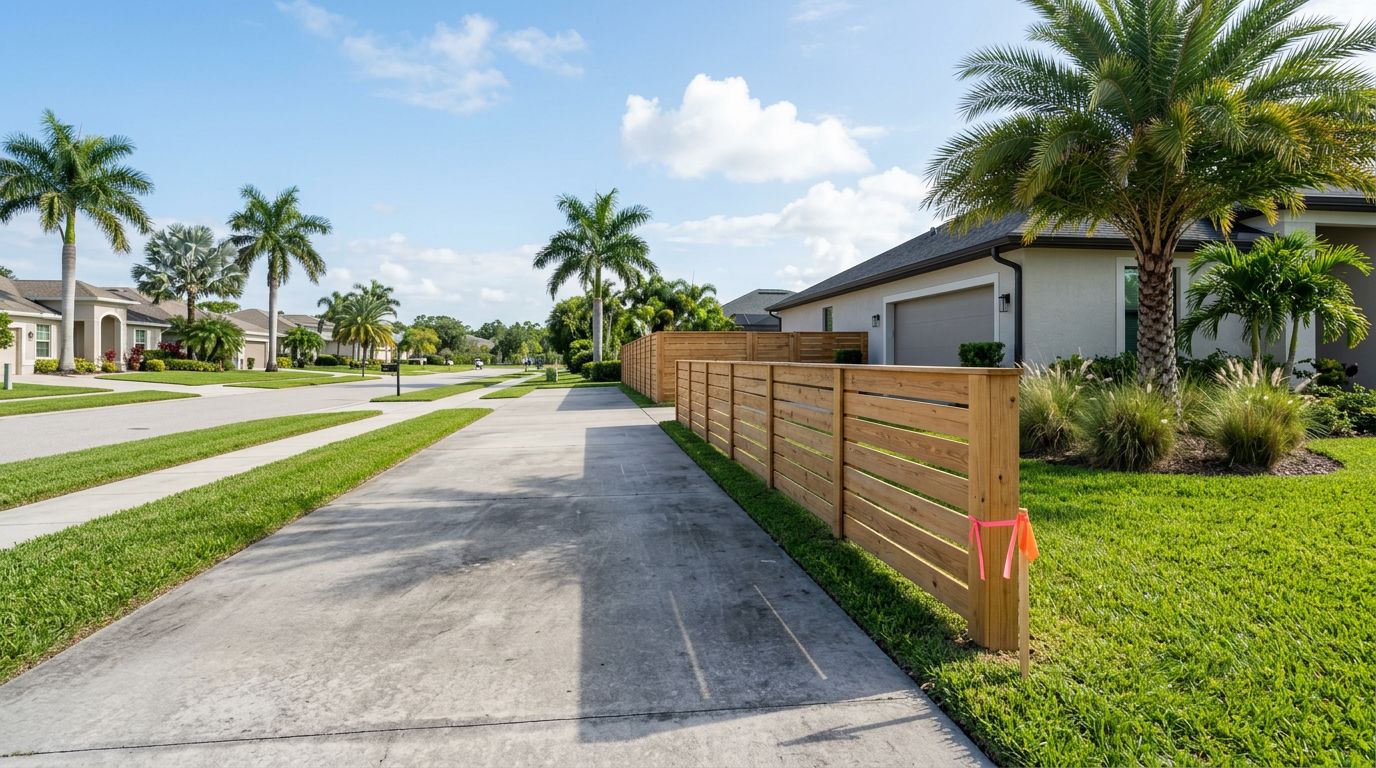
A small chip in a powder-coated aluminum fence can turn into a bigger eyesore fast, especially in Southwest Florida weather. Sun, rain, sprinkler spray, and salt air all make exposed spots stand out.
Powder coat chip repair works best when you move quickly and keep the fix small. Aluminum won't rust like steel, but bare metal can still oxidize, so sealing the damaged spot matters.
If your fence sits near the coast, chips deserve extra attention. Salt can creep under a damaged coating and widen the problem, which is why protecting aluminum fencing from salt corrosion matters after any scratch or chip.
Start by checking the size of the damage
Small chips and thin scratches are good candidates for touch-up work. If the coating is only broken in one spot, you can usually clean, prep, and seal it without replacing the panel.
Bigger problems need a different approach. If you see bent aluminum, bubbling around the chip, long strips of peeling finish, or repeated damage in the same area, the panel may need a more complete repair.
Before you open any touch-up product, check the fence paperwork. Manufacturers sometimes specify approved coatings, and using a third-party product can affect warranty coverage. If the fence is fairly new, that step is worth a few minutes.
Gather the right tools before you begin
Good prep makes the repair blend in better. You do not need a long list, but each item matters.
Use these basics:
- Mild soap and water
- A soft cloth or microfiber towel
- A soft nylon brush
- Fine-grit wet-dry sandpaper or a Scotch-Brite pad for light feathering
- Painter's tape
- A small brush, foam swab, or touch-up pen
- A color-matched, exterior-grade touch-up coating
- Gloves
If the fence just needs a normal wash first, how to clean your aluminum fence is a helpful place to start. Dirt and chalky film can make a tiny chip look bigger than it is.
A touch-up applied over dust or moisture usually fails early, even when the color match looks perfect.
Step-by-step powder coat chip repair
Work slowly here. Thin layers and good prep are what make the repair disappear.
- Clean the damaged area
Wash the spot with mild soap and water. Remove dirt, pollen, sprinkler residue, and grease. Rinse well so no soap stays on the surface. - Let it dry completely
This part matters more than most people think. The area should be fully dry before you sand or paint. Any trapped moisture can weaken adhesion and cloud the finish. - Feather the edges if needed
If the chip has a raised edge, lightly feather it with fine-grit sandpaper or a soft abrasive pad. You are not trying to sand through the coating, only smooth the transition so the repair does not look like a bump. - Wipe away dust
Use a clean, dry cloth after sanding. If dust remains, the touch-up coating can dry rough or uneven. - Mask the area
Painter's tape helps keep the repair small and neat. That matters on visible pickets and rails, where a sloppy patch catches the light. - Test the product in a hidden spot
Try the touch-up on the back side of a post or another low-visibility area first. Wait for it to dry. Then check the color and sheen in daylight. - Apply a thin coat
Use a light pass instead of a heavy dab. A thick coat can look shiny, sag, or sit above the surrounding finish. Thin coats blend much better. - Build coverage slowly
Let the first coat dry, then add another thin coat if needed. Two light coats usually look better than one heavy one. - Let it cure before touching the area
Even if it feels dry, the coating may still be soft underneath. Keep hands, sprinklers, and pet claws off the area until it hardens.
Match color and sheen, not just color
Color match gets the most attention, but sheen matters just as much. A satin patch on a matte fence can stand out in direct sun, even if the color is close.
Look at the fence under bright daylight before you choose a product. Southwest Florida sun can make small differences obvious. If the fence has a textured finish, a smooth touch-up can still show, so test first and keep expectations realistic.
Use the fence maker's recommendations when you can. If the original finish came from a specific manufacturer, their touch-up product or approved equivalent is usually the safest bet. When that is not available, choose the closest match you can find and keep the repair small.
Common touch-up problems and how to fix them
A few issues come up often during powder coat chip repair. Most of them point back to prep or product mismatch.
- Poor adhesion usually means the surface was dirty, damp, or oily. Clean again, dry the area, and reapply with a lighter coat.
- Visible patch edges often happen when the damaged area was not feathered enough. Light sanding around the chip usually helps the repair blend.
- Mismatched sheen can make the repair obvious, even with the right color. Try a different finish level, such as satin instead of gloss.
- Rough or gritty texture often comes from dust or brushing too hard. Wipe the area clean and use smoother, thinner passes next time.
If chips keep appearing after storms, yard work, or gate use, the fence may need more than a surface fix. In coastal areas, regular care helps prevent bigger issues later, and maintaining aluminum fences near the coast starts with catching small damage early.
Keep the repair sealed and inspect it later
Once the touch-up cures, check it again after a few days. Look for shrinking, cracking, or a finish that still feels tacky. If the area holds up, it will usually keep moisture out and slow down further damage.
A small chip is easy to ignore until it grows. Quick, careful touch-up work keeps an aluminum fence looking clean and helps the coating do its job.
Conclusion
A clean, dry surface, a little feathering, and thin coats make the biggest difference in aluminum fence powder coat chip repair. That simple process helps the patch blend in and keeps exposed metal from oxidizing.
If you catch chips early and match the sheen as closely as possible, most small repairs stay discreet. When the damage is larger or keeps coming back, a closer inspection can save time and prevent a bigger fix later.