July 26, 2026
A cinder block wall can provide a solid boundary, but it isn't automatically ready to carry a fence. When you search for how to attach fence block wall sections, the safest answer depends on the wall's construction, ownership, condition, and the fence's height and wind exposure.
Cape Coral properties also bring added concerns, including heavy rain, coastal humidity, salt exposure, pool-barrier rules, and local approval requirements. A weak anchor or misplaced hole can damage stucco, crack a masonry wall, or affect the building code compliance of the structure. Start with the wall and property checks, then choose the attachment method.
Key Takeaways
- Confirm property lines, wall ownership, HOA rules, utilities, and current City of Cape Coral requirements before drilling.
- Inspect the cinder block wall for core filling, cracks, loose caps, hollow sections, reinforcement, and signs of movement.
- Use masonry-rated brackets and corrosion-resistant anchors matched to the wall construction.
- Independent fence posts and brackets attached to a masonry wall are often safer than attaching a tall fence or gate directly to the structure.
- Hire a licensed local contractor or structural engineer when the wall is structural, shared, part of a pool enclosure, or exposed to significant wind loads to protect its structural integrity.
Check the Wall and Property Before Drilling
First, confirm that you have permission to modify the wall. A cinder block wall may sit on a property line, belong to a neighbor, or form part of a shared boundary. If ownership is unclear, review your survey, closing documents, or community records and speak with the adjacent owner before planning the fence.
You should also verify the proposed fence location against easements and utility paths. Contact the appropriate utility-locating service before drilling or digging. Mark irrigation lines, electrical runs, gas lines, pool equipment connections, and other buried services. A wall attachment may avoid post holes, but the project can still involve drilling, gate posts, or new footings.
Next, inspect the wall from both sides. Look for:
- Step cracks through mortar joints
- Horizontal cracks or bulging areas
- Loose or broken blocks
- Separating stucco
- Movement at corners and returns
- A loose or overhanging cap
- Water damage near the base
- Previous anchors that have pulled out
A block wall can be decorative, structural, shared, or connected to a pool enclosure, and these conditions change how you approach a retaining wall fence. Those conditions change the design. For example, drilling into a thin cap may cause it to split, while drilling into cells that are grout filled or hollow requires a different anchor and engineering detail.
Cape Coral properties also need a review of current city requirements, HOA restrictions, fence height limits, setbacks, and pool-barrier standards. Requirements can change based on the property and fence design, and local building code guidelines help maintain structural integrity. Review Cape Coral fence permit timelines before ordering materials or scheduling installation.
A block wall can look solid from the outside while containing hollow cells, reinforcement, or hidden damage. The visible surface doesn't tell you where every anchor belongs.
Choose the Right Fence and Attachment Method
The fence style affects how much load reaches the wall. A short aluminum section or a lightweight chain link fence may attach with brackets designed for masonry, while a tall privacy fence or heavy wood fence panel acts more like a sail during strong wind. Gates create another concern because hinges and latches transfer repeated movement into their supports.
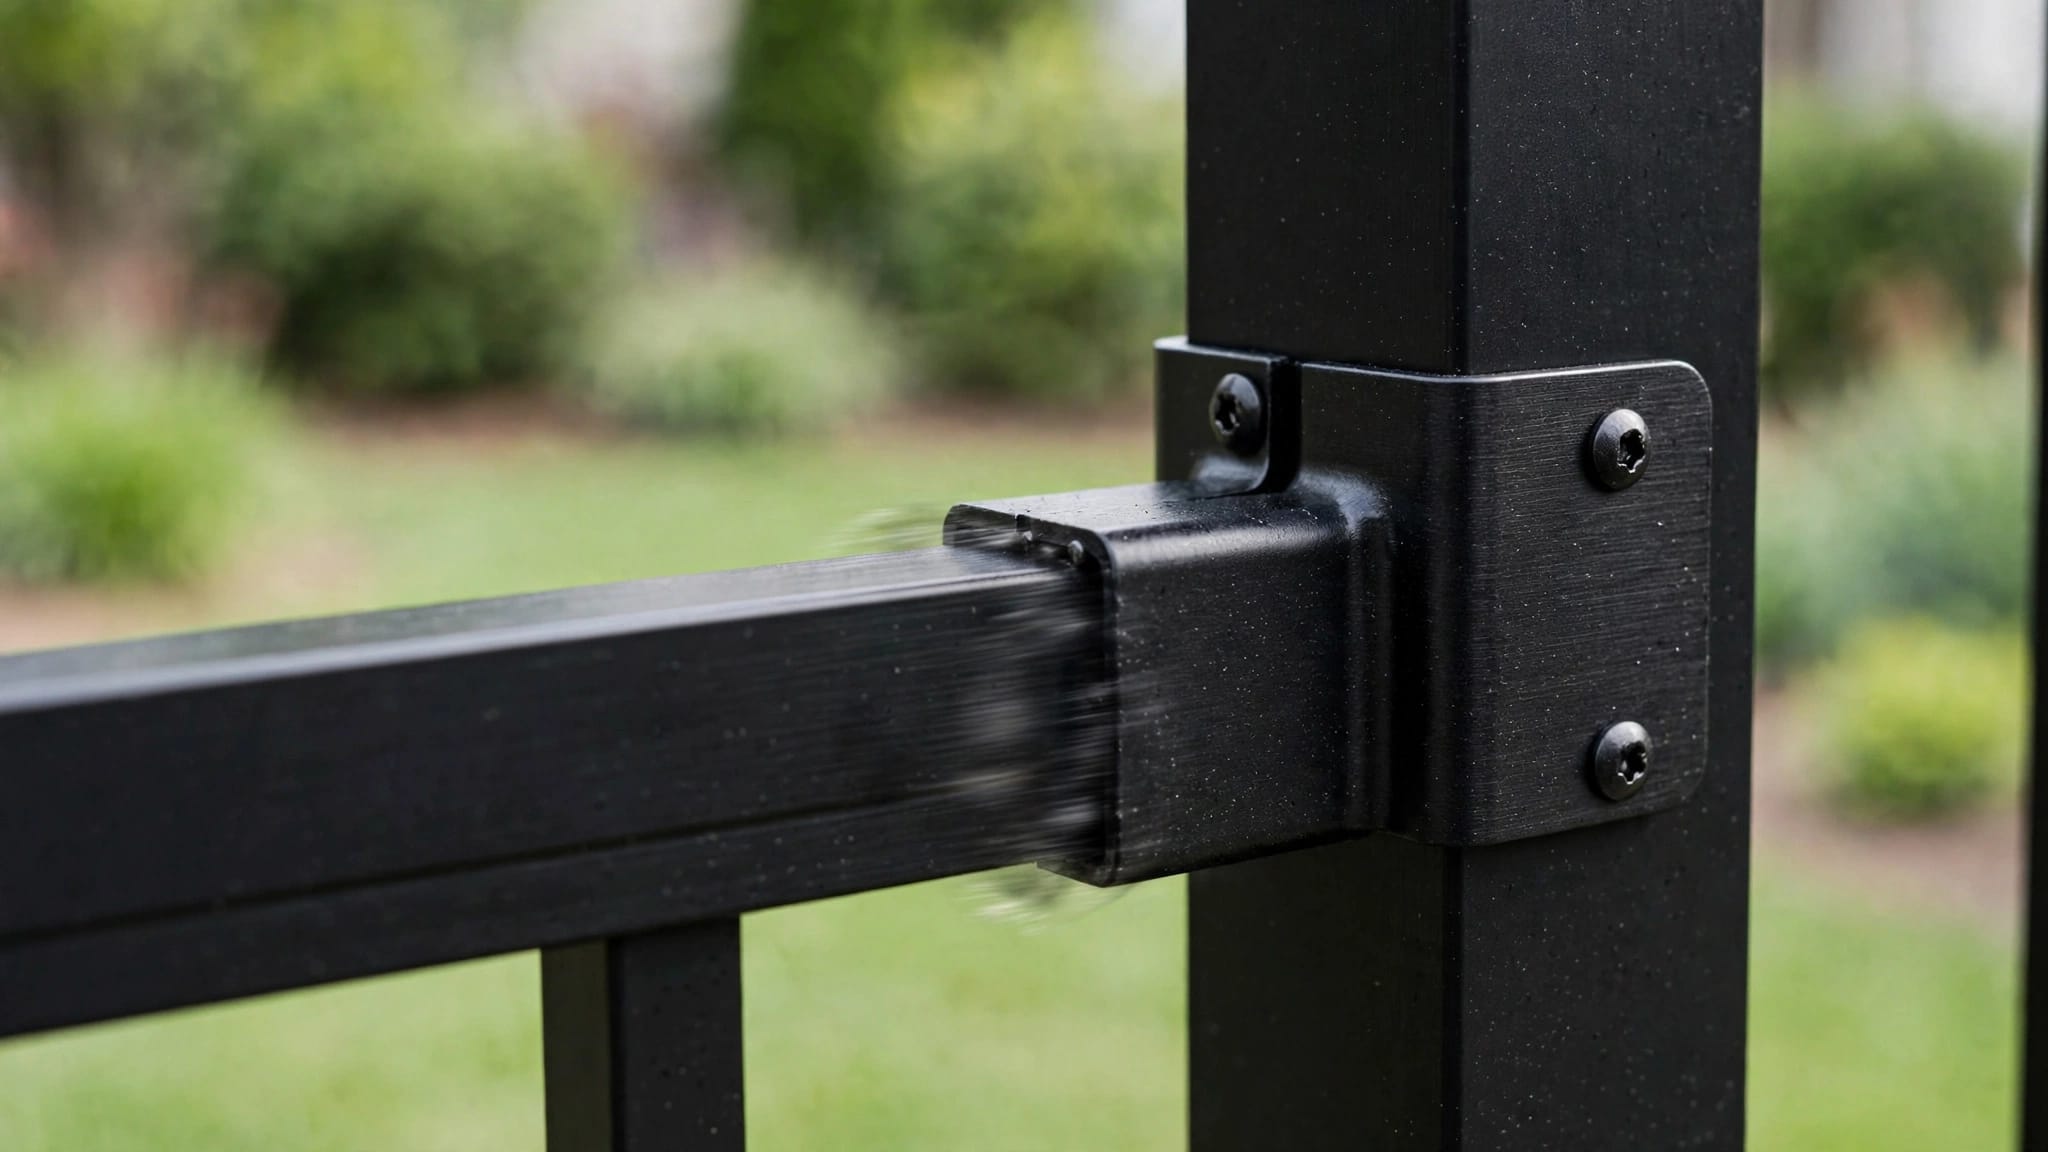
Direct attachment usually works best for short sections, transitions, or decorative panels that place limited weight on the wall. Common components include:
- Aluminum brackets secured to the masonry
- Fence rails connected to side plates
- Steel posts mounted to a reinforced wall section
- Offset brackets that hold the fence slightly away from stucco
- Corrosion-resistant screws or expansion anchors rated for masonry
The anchor must match the actual wall. Solid concrete, filled block cells, hollow block, mortar joints, and reinforced bond beams don't have the same holding strength. A contractor may use concrete screws, sleeve anchors, or another masonry-rated system after checking if the top course is grout filled. Avoid choosing anchors based only on diameter or package appearance.
A wood fence often needs more planning because heavy rails and posts made of pressure treated pine can hold substantial weight. Fastening a rail directly to a stuccoed wall may trap moisture and make repairs difficult. Stand-off brackets can create drainage space, but the wall still needs enough strength for the design.
Vinyl panels also need room for movement and proper support. Rigidly fastening a panel in a way the manufacturer doesn't allow can lead to stress at the panel or bracket. Aluminum fencing is often easier to transition beside masonry because its rails and posts accept purpose-made brackets, but the specific product system still matters.
For a tall privacy fence, wide gate, or heavy section mounted to a cinder block wall, consider setting independent posts beside the wall. When working on a retaining wall fence, using a specialized sleeve-it system, a cantilever design, or adjusting post spacing can transfer loads safely. These methods shift the fence weight into properly sized footings instead of relying strictly on the face of the block.
A professional quote should identify the fence material, attachment points, anchor type, post spacing, gate support, wall repairs, engineering needs, and permit work. A Cape Coral fence permit checklist can help you gather the layout details before submitting plans.
Steps to Attach Fence Block Wall Sections Safely
Once the design and approvals are in place, the installation should follow a controlled sequence. The exact process varies, but these steps cover the main work.
1. Lay out the fence line
Mark the fence transition with a chalk line or removable marks. Confirm the finished height, panel alignment, gate swing, and clearance from property features. Check the layout from both sides of the wall so brackets won't interfere with a neighbor's use or maintenance.
Keep gates supported by posts designed for gate loads. A gate should not rely on a thin wall cap or a small decorative bracket.
2. Locate suitable masonry
Use the wall inspection and available construction information to identify solid or reinforced attachment areas. A contractor may use a masonry scanner or other inspection method when reinforcement is likely.
Don't drill through visible cracks, loose stucco, weak mortar, or an unsupported cap. Also avoid placing several anchors close together, since they can weaken a small section of block.
3. Select and position the brackets
Hold the bracket in place and mark each hole through the manufacturer's mounting plate. Keep the fence plumb while checking that the bracket sits flat against the wall. If stucco is uneven, the installer may need a compatible spacer or a carefully prepared mounting area.
Bracket placement should support the fence without forcing the panel to twist. Heavier sections and end conditions usually need closer support than a light decorative run.
4. Drill with masonry equipment
A hammer drill fitted with a proper concrete drill bit is common for concrete block and concrete, although the anchor manufacturer may specify a different drilling method. Use eye protection, hearing protection, and a dust-control method suitable for the material.
Drill to the specified diameter and depth. A depth stop helps prevent over-drilling. Remove dust from each hole as required by the anchor instructions. Dust left inside a hole can reduce the anchor's grip.
5. Install the anchors without crushing the wall
Set the bracket and install the approved fasteners. Depending on the application, this might involve heavy-duty anchor bolts, masonry screws like tapcons, a secure concrete anchor, or an epoxy anchor combined with a stainless steel threaded rod for maximum hold in hollow cells. Tighten them to the manufacturer's requirements, not by adding as much force as possible. Over-tightening can crush a hollow block face, crack stucco, or strip the fastener.
If the wall needs a specialized structural connection, follow the product instructions and any engineered plans. Don't substitute a general-purpose screw for a system designed for structural masonry. If minor surface damage occurs during installation, patching it with hydraulic cement can help restore the wall base before final sealing.
6. Mount and align the fence
Attach the rail, panel, pickets, or frame to the brackets. Use a level to check vertical alignment and confirm that adjacent fence sections meet at the intended height. Leave the clearances required by the fence manufacturer and any applicable pool-barrier design.
After mounting, operate each gate several times. Check the hinges, latch, stops, and swing path. A gate that drags can place extra force on the wall connection.
7. Seal and inspect the connection
Exterior-rated sealant around a suitable penetration can help limit water entry, but sealant doesn't repair a weak anchor or replace proper flashing. Follow the sealant and anchor instructions, especially on stuccoed surfaces.
Inspect every connection for movement, cracked finishes, loose hardware, and fence sections that lean away from the wall. Keep maintenance records and check the attachments after major storms.
When Independent Posts or Professional Design Make More Sense
Directly attaching a fence to a wall isn't always the best option. Installing ground-set fence posts is often a safer choice than mounting directly to a weak cinder block wall or an engineered retaining wall fence, especially when the fence is tall, solid, heavy, or located where wind can place strong pressure on it. Independent footings help secure fence posts for a tall privacy fence, and they also make sense when the wall has hollow cells, older repairs, visible cracking, or an uncertain foundation.
A gate deserves special attention. Hinges create concentrated loads, while the latch side receives impact each time the gate closes. Use a dedicated gate post when the wall connection can't carry those forces. The same applies to a long privacy section that could transfer wind pressure across multiple brackets.
Get professional help when the wall may be structural or shared, when you need to modify reinforcement, or when a connection could affect wall stability. A licensed local contractor can assess the fence layout and installation details, while ensuring proper fence construction standards. An engineer may be needed when the design requires structural calculations, engineered drawings, or confirmation of wind resistance, and they might specify an epoxy anchor system when wall-mounting is strictly mandated by local conditions.
Pool enclosures require extra care. A fence transition near a pool may need to maintain specific height, opening, gate, latch, and self-closing conditions. Do not treat a pool-barrier connection as a standard decorative fence installation.
Ask a contractor to explain how the proposed system handles:
- Wall strength and anchor placement
- Fence height and solid surface area
- Gate loads and hardware
- Wind exposure
- Corrosion resistance
- Stucco or cap repairs
- Inspection and permit requirements
- Maintenance access on both sides
A written proposal should separate fence materials, brackets and anchors, independent footings, wall repairs, engineering, permit services, and cleanup. That detail makes it easier to compare bids and identify missing work.
Frequently Asked Questions
Can I attach a tall privacy fence directly to a cinder block wall?
Directly attaching a tall privacy fence to a cinder block wall is generally not recommended because solid panels act like sails in high winds. This wind pressure can crack the masonry, pull out anchors, or destabilize the wall. For tall or heavy fences, it is usually safer to install independent support posts beside the wall.
What kind of anchors should be used on a concrete block wall?
You should use masonry-rated brackets and corrosion-resistant anchors, such as heavy-duty anchor bolts, sleeve anchors, masonry screws, or epoxy anchors combined with threaded rods. The correct choice depends entirely on whether the block cells are hollow, grout-filled, or reinforced. Avoid using general-purpose fasteners that are not designed for masonry substrates.
Do I need a permit to attach a fence to a block wall in Cape Coral?
Yes, property owners in Cape Coral typically need to verify local building codes, HOA rules, and permit requirements before starting any fence installation. Modifications to walls, especially those serving as pool barriers or property boundaries, must meet strict city guidelines and wind-load standards.
Conclusion
The safest way to attach fence block wall sections is to treat the masonry as part of the structure, not as a convenient surface for basic screws. Confirm ownership and approvals, inspect the cinder block wall, choose anchors for the actual substrate, and keep tall fences and gates on independent fence posts when the wall cannot carry their loads.
When stability, wind resistance, or pool-barrier compliance is involved, use a licensed local contractor or engineer. A careful layout and properly matched connection will protect the wall and give the finished fence a straight, secure transition.