July 27, 2026
Roof replacement can protect your home for decades, but the work can damage a fence in a single afternoon. Cape Coral fence protection starts before the first shingle comes off, with clear communication, a documented fence condition, and a plan for equipment and debris.
Roofing crews may carry materials through gates, place ladders near fence panels, or drop old shingles along the perimeter. Wind can also move loose materials into vinyl, wood, aluminum, or chain link fencing. A few practical steps can prevent avoidable repairs and make post-project issues easier to resolve.
Key Takeaways
- Walk the property with your roofing contractor before work begins.
- Photograph every fence panel, post, gate, latch, and nearby plant.
- Keep ladders, dumpsters, tools, and debris away from fence sections.
- Secure gates and protect landscaping along the roof work zone.
- Inspect the entire fence after cleanup, then address damage promptly.
Plan Cape Coral Fence Protection Before Roofing Begins
The best time to discuss fence safety is during the roofing estimate or pre-work walkthrough. Don't wait until materials arrive. Ask the roofing contractor how workers will access the roof, where they will stage shingles, and where the dumpster or trailer will sit.
A contractor may need access through a side gate or backyard. That route should be agreed upon before the crew arrives. Measure the gate opening if large deliveries are expected, and tell the contractor about narrow walkways, delicate plants, pool enclosures, outdoor kitchens, irrigation heads, and low-voltage lighting.
Walk the fence line together. Point out sections that already lean, loose posts, cracked pickets, rusted hardware, or gates that drag. The contractor can then separate pre-existing conditions from damage related to the roofing project.
You should also discuss how crews will manage tear-off debris. Old shingles, nails, underlayment, and wood can land near the fence. A tarp or temporary ground covering may help collect debris, but it shouldn't be pulled tight against a fence or attached with fasteners that puncture the material.
Ask these questions before the start date:
- Which gate will workers use, and how will they keep it secured?
- Where will ladders, lifts, trucks, and roofing materials be placed?
- How will the crew protect plants, irrigation, pool equipment, and outdoor fixtures?
- Who will inspect the fence with you after the cleanup?
- What does the written roofing contract say about accidental property damage?
A clear access plan protects more than the fence. It also reduces the chance of crushed plants, blocked gates, damaged irrigation, or debris entering a pool area.
If the roofing company hires a separate cleanup crew, include that company in the conversation. Everyone working on the property should know which areas require extra care.
Document the Fence Condition With Photos and Notes
Photos provide a practical record of the fence's condition before roof replacement. Take clear pictures on the same day, or as close to the start of work as possible. Capture the full fence line, then take closer photos of details that could change during construction.
Photograph every gate, including the hinges, latch, wheels, and bottom clearance. A gate may look fine from the street but have a loose hinge or sagging frame that isn't visible at a distance. Close-ups help show the difference between old wear and new damage.
Record the condition of fence posts and panels as well. Look for:
- Leaning or twisted posts
- Cracked vinyl rails or pickets
- Split, warped, or softened wood
- Bent aluminum sections
- Broken chain link ties
- Rust around fasteners or brackets
- Scrapes, dents, stains, or missing caps
- Gates that stick, sag, or fail to latch
Save the photos with the date. Keep them in a folder with the roofing estimate, contract, invoices, and any text or email messages about property protection. You don't need a complicated system. A dated photo set and a short written note can make the condition easy to compare later.
Walk around the property while taking pictures. Include the ground near each fence section, because damaged concrete, soil, pavers, or roots can affect a post even when the panel looks intact. Also photograph nearby landscaping before workers move through the area.
For material-specific reference, review the available residential fence options before deciding whether an existing section needs repair or replacement. Different materials show damage in different ways. Vinyl may crack or separate at a rail connection, while aluminum may bend at a post or picket. Wood can split, bruise, or loosen around fasteners.
Share the photos with the roofing contractor before work begins. If the fence has existing damage, ask the contractor to acknowledge it in writing. That simple step creates a shared record and keeps the conversation focused on the actual condition.
Protect Gates, Landscaping, and Fence Panels During Work
Roof replacement creates several points of contact around a home. Workers may carry bundles of shingles, remove old roofing, move ladders, and sweep up nails. Careful staging keeps those activities away from the fence.
Start with the gate. Keep the primary access gate closed when workers aren't moving materials. If the gate must remain open, use a temporary barrier or another agreed method to control access. Don't rely on a loose brick, a bungee cord, or a latch that already fails to hold.
Ask the crew to avoid using fence posts as handholds or ladder supports. A fence post isn't designed to carry a worker's weight or the sideways force of a ladder. Leaning a ladder against a panel can crack vinyl, dent aluminum, break wood boards, or deform chain link fabric.
Protect plants beside the fence before tear-off starts. Trim only what the property owner or landscaper has approved, and mark irrigation heads or lighting fixtures with visible flags. Temporary plant covers can reduce damage from dust and falling debris, but they need ventilation and should be removed when the work area is safe.
Keep tarps, tools, and roofing materials off the fence itself. Heavy bundles can push panels out of alignment, and sharp materials can scratch finishes or puncture vinyl. A dumpster should sit on a stable surface with enough clearance for workers to load it without striking the gate or fence.
Cape Coral weather can change quickly, so loose protective materials need regular attention. Wind can lift a tarp, scatter lightweight debris, or push a temporary barrier into the fence. The roofing crew should secure materials at the end of each workday and after weather changes.
If a fence section must be removed for access, take photos first and agree on who will remove and reinstall it. Confirm how the posts, brackets, caps, and gate hardware will be stored. A missing fastener or reversed hinge can create a new problem after the roofing crew leaves.
Check the Fence Immediately After Cleanup
A final inspection should happen after the roofing company removes tools, ladders, tarps, and debris. Walk the same route you used before the project, and compare each section with your photos.
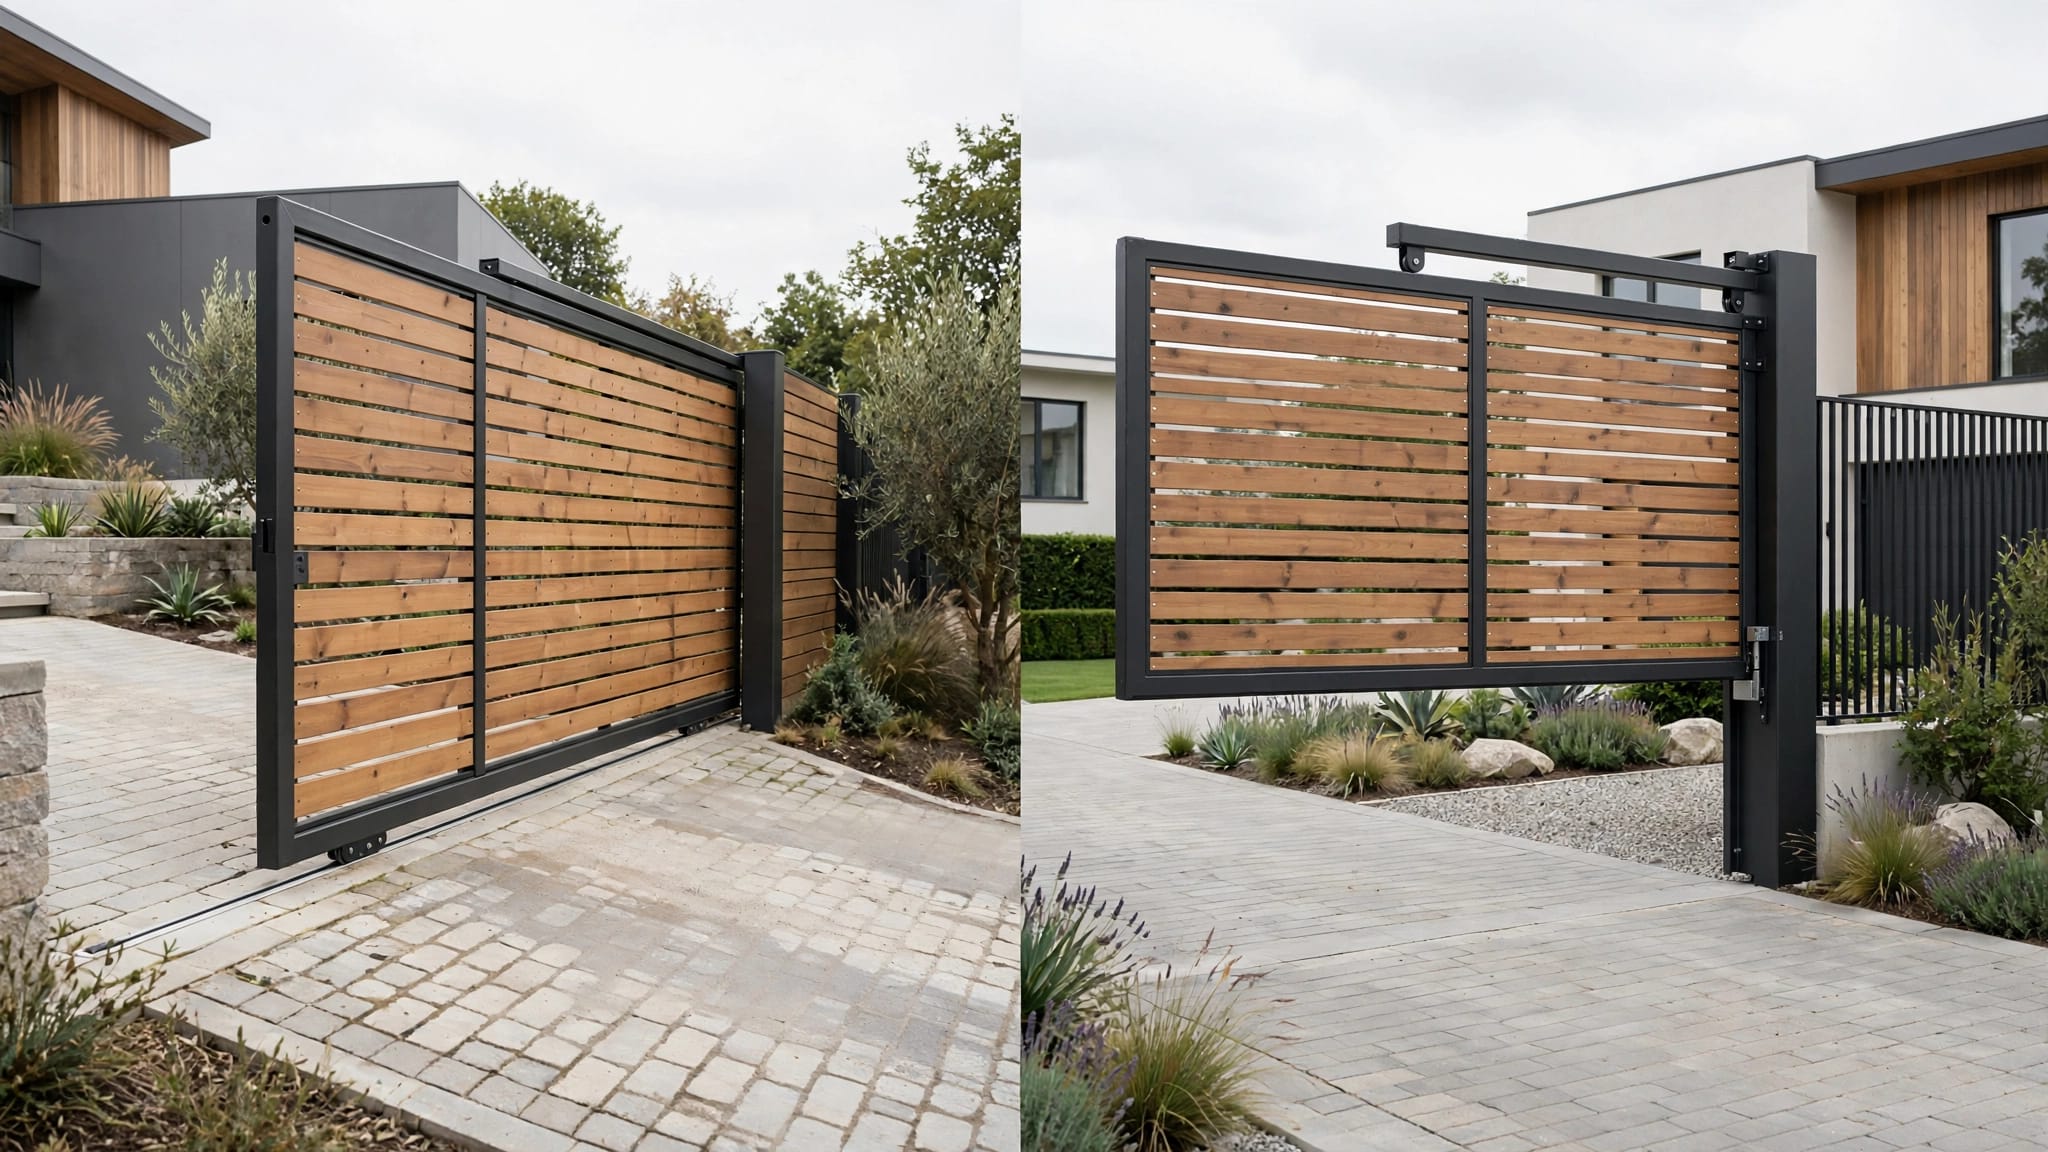
Begin with the access gate. Open and close it several times. Check whether it swings freely, lines up with the latch, and stays closed. For a sliding gate, look for new resistance, wheel damage, track debris, or a change in the gap below the gate.
Next, inspect each panel and post. Run your eyes along the top and bottom edges for cracks, dents, fresh scrapes, bent rails, and loose connections. Check posts for movement by applying gentle pressure. Don't force a post that appears unstable, since pressure could worsen a damaged footing.
Look at the ground around every post. Roofing debris can hide nails, screws, and sharp metal pieces. Wear sturdy shoes and use a careful visual sweep before children or pets return to the area. A magnet designed for picking up fasteners can help collect stray metal from suitable ground surfaces, but use care around electronics, pool equipment, and gates with magnetic components.
Check landscaping as well. Look for crushed branches, broken stems, damaged irrigation heads, compacted soil, and debris caught beneath shrubs. Clear material from drainage paths and make sure roof runoff won't discharge against a fence post or wash soil away.
Write down any concern while you inspect. Include the location, type of damage, and a matching photo. Tell the roofing contractor promptly, preferably in writing, and keep communication factual. Refer to the pre-work photos and the agreed access plan rather than relying on memory.
Avoid making immediate repairs before documenting the issue or speaking with the roofing company. If a post has shifted or a gate won't close, secure the area temporarily while you decide whether a roofing contractor, fence contractor, landscaper, or another professional should handle the repair.
Know When a Fence Contractor Should Inspect the Damage
Some issues are easy to spot, but others need a trained inspection. A cracked vinyl rail may not be visible until the panel moves. A bent aluminum post can affect several connected sections. Wood damage may extend below the surface, especially around an older post or a wet footing.
Contact a fence contractor if a panel remains out of line, a post moves, a gate sags, or hardware no longer works correctly. The contractor can identify whether the problem involves a panel, rail, post, hinge, latch, concrete footing, or nearby grade.
Material also affects the repair plan. Vinyl fencing may require a replacement rail or panel that matches the existing profile and color. Aluminum repairs often involve realigning or replacing a damaged section. Wood repairs depend on the condition of the boards, rails, and posts. Chain link work may require new fabric, tension components, ties, or framework.
Homeowners considering a change after roof work can review vinyl fencing choices if they want a low-maintenance material with a different appearance. A replacement should still match the property's layout, gate needs, drainage conditions, and local project requirements.
Review the roofing contract and any written property-protection terms before assigning responsibility for repair costs. If the issue involves a significant claim, contract question, insurance matter, or permit concern, consult the appropriate contractor, insurer, or qualified local professional. Requirements can vary by project and property.
Conclusion
Roof replacement doesn't have to put a Cape Coral fence at risk. The strongest protection plan combines a pre-work walkthrough, dated photos, controlled access, careful staging, and a detailed inspection after cleanup.
Cape Coral fence protection works best when the roofing contractor and homeowner agree on responsibilities before materials arrive. A few minutes spent documenting the fence and protecting gates and landscaping can prevent confusion after the final shingle is installed.