February 11, 2026
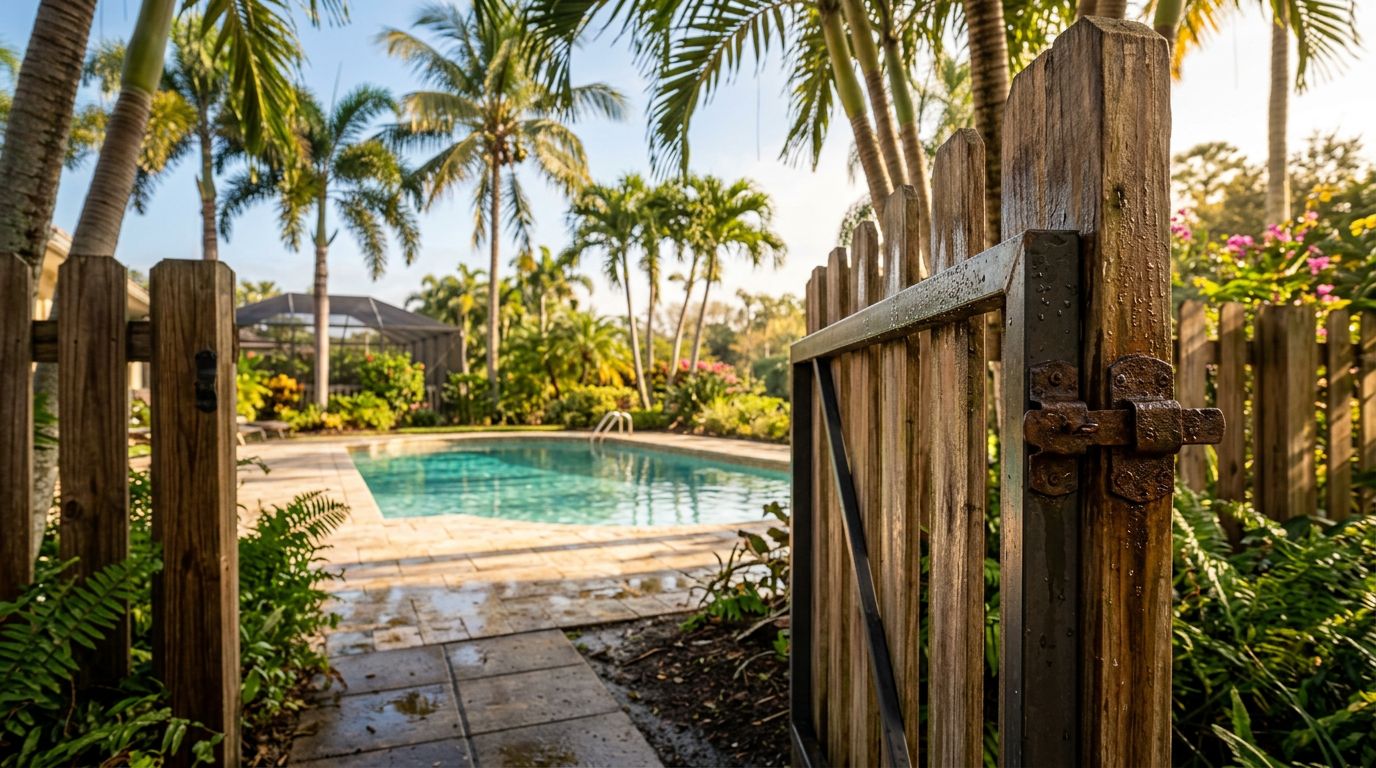
A vinyl fence gate should swing like a door in your house, steady, level, and predictable. But in Cape Coral, gates live a tougher life. Sun softens materials, sandy soil shifts, and wind loads tug on every fastener. If you’ve dealt with vinyl gate sagging , you already know the pattern, it starts small, then one day the latch won’t catch unless you lift the gate.
The good news is sagging isn’t “just what gates do.” Most sagging comes from a few repeat mistakes: an undersized hinge post, no internal metal reinforcement, hinges mounted too close together, or a latch that forces the gate to twist every time it closes. Fix those, and a vinyl gate can stay square for years.
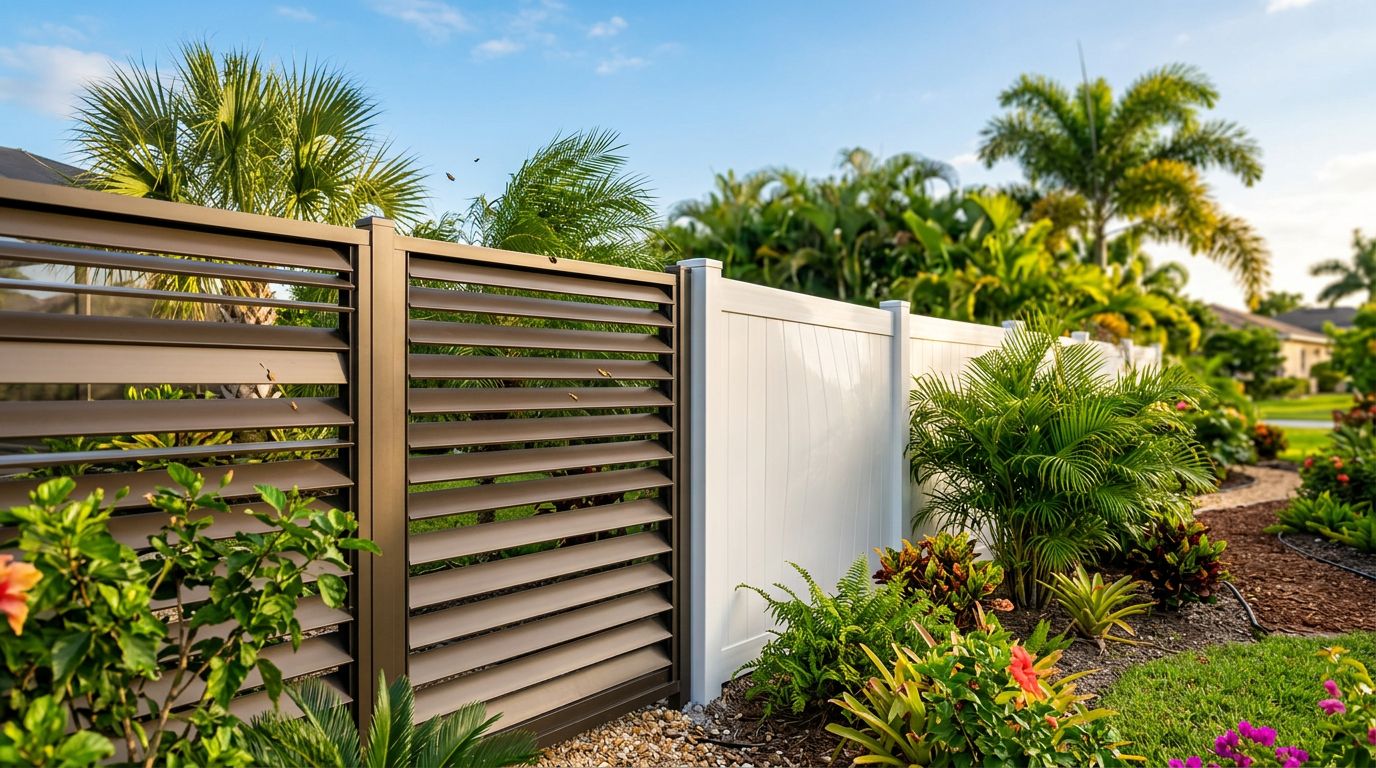
If you’re comparing options for a new install, see how different styles are built on the vinyl fencing Cape Coral page, then use the measurements and checks below to keep the gate from becoming the weak link.
Why vinyl gate sagging happens so fast in Cape Coral
Sagging is almost never “the gate’s fault” alone. It’s the whole system, post, hinges, frame, and latch, sharing load the wrong way.
Start with gravity. Every gate is a little cantilever hanging off the hinge post. Each open and close is a small pull on the hinges, and that pull transfers into the post and footing. Add Cape Coral weather, and problems show up sooner.
Heat matters. Vinyl expands and flexes more than metal. That doesn’t mean vinyl is bad, it means the gate needs a stiff internal skeleton so the vinyl skin isn’t doing the structural work.
Wind matters too. Large solid panels act like a sail, and gusts can rack a gate out of square. Cape Coral permitting typically follows current Florida Building Code wind load rules, so manufacturer specs and local requirements can change what post size and reinforcement are appropriate on your lot (especially near open water).
Finally, gates fail at the hardware connection. If hinges are screwed only into vinyl, the vinyl slowly deforms. If the latch is misaligned, people slam and shove the gate shut, and the frame twists a little more each week. For a quick overview of common causes and fixes, this vinyl gate sagging FAQ is a helpful reference.
The hinge post and footing do most of the work (so build them like they mean it)
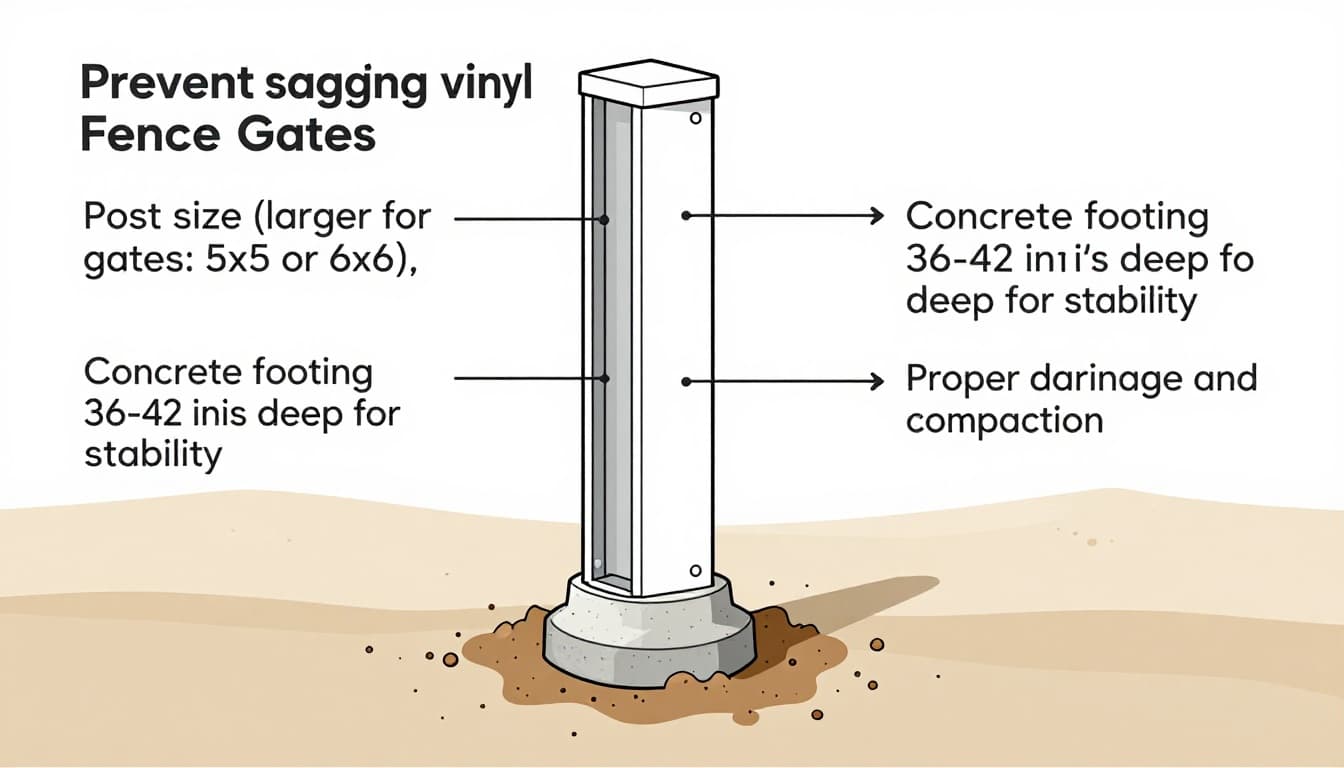 Cross-section of a stronger gate post footing and reinforcement layout, created with AI.
In Southwest Florida, the hinge-side post is the foundation of the gate. If it flexes, everything else becomes an adjustment game.
Rule of thumb for post size: treat gate posts as “one size up” from line posts. Many vinyl fence runs use smaller posts, but gate hinge posts often need 5x5 or 6x6 vinyl post sleeves with an internal metal insert (aluminum or galvanized steel). Wider or taller gates, or gates that catch wind (privacy panels), push you toward the larger option.
Don’t rely on hollow vinyl. A gate can look solid and still be weak if there’s no metal inside the post and no reinforcement in the gate frame. The most common long-term failure is a hinge post that slowly leans, even if it looked plumb on day one.
Footing depth and shape matter in sandy soil. A practical Cape Coral range is often 36 to 42 inches deep for hinge posts, with a bell-shaped base where possible. Depth needs vary by soil, groundwater, and exposure, so follow your manufacturer and local requirements. What’s non-negotiable is keeping the post perfectly plumb and braced while concrete cures. A post that’s out by even 1/4 inch at the top becomes a latch problem later.
Hardware in coastal air should match the environment. Use stainless steel (304 minimum, 316 near salt exposure) or hot-dipped galvanized fasteners. Avoid cheap electroplated screws for critical hinge connections, they rust early and loosen.
Hinge spacing, reinforcement, and latch placement that keep the gate square
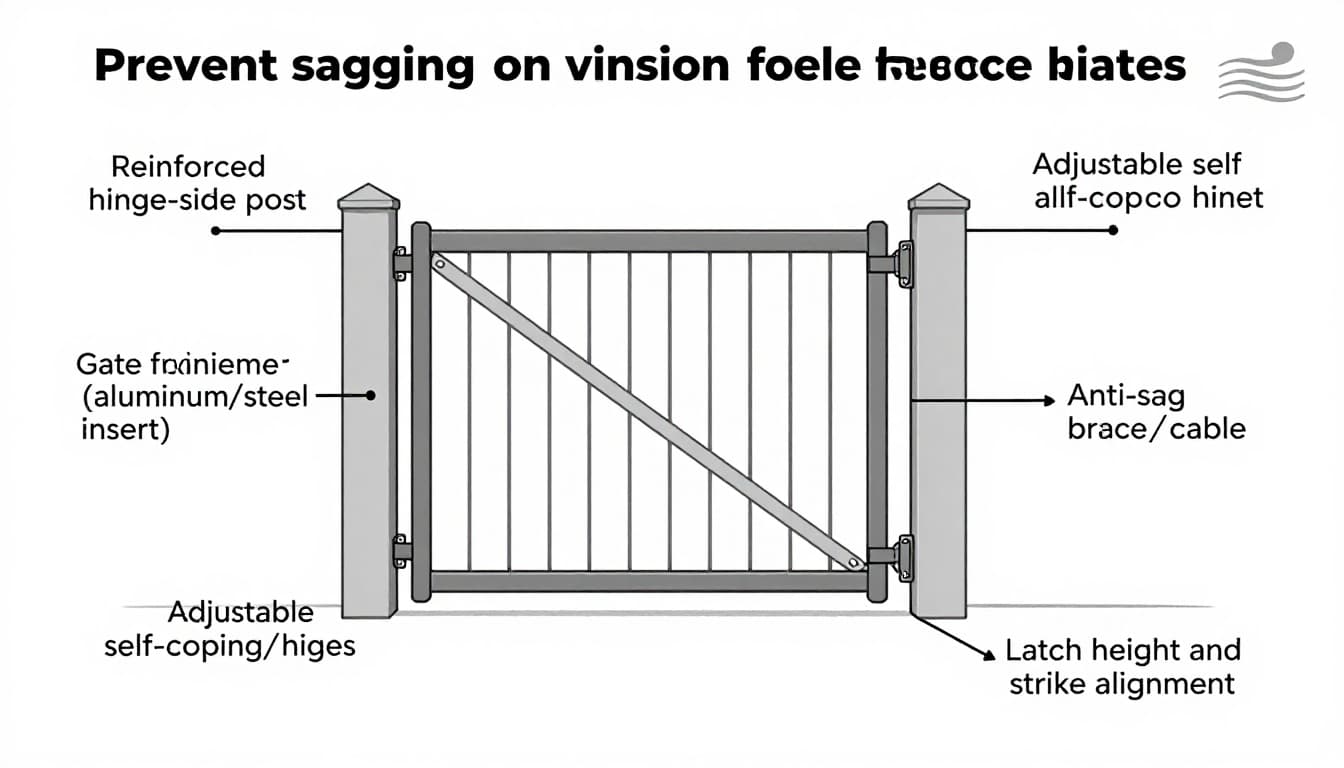 Hardware layout showing hinge spacing, reinforcement, and anti-sag bracing, created with AI.
Most “sagging” is really the gate frame racking into a parallelogram. Your goal is to keep the frame square and make sure closing forces don’t twist it.
Hinge placement (easy win): spread hinges as far apart as the gate allows. A solid rule is to place the top hinge within 2 to 4 inches of the top rail , and the bottom hinge within 2 to 4 inches of the bottom rail . If the hinges sit near the middle, the gate has more leverage to droop. For taller or heavier gates, a third hinge centered between the other two can reduce flex.
Fasten hinges into structure, not just vinyl. The best setups bolt through to a metal insert or a reinforced mounting area. If your system allows through-bolts with backing plates, that’s usually stronger than screws biting into vinyl alone.
Reinforce the gate leaf. For walk gates, look for an internal metal frame or aluminum stiffener, plus a diagonal anti-sag brace or cable. The diagonal should run from the bottom hinge side up to the opposite top corner . That direction helps “hold up” the latch side and fights the droop.
Latch height and strike alignment: place the latch where it closes with a straight pull, not a twist. Many walk gates land well with a latch around 36 to 42 inches high. Pool gates can have different requirements (often self-closing and self-latching, with higher latch release), so verify local code and product instructions. Whatever the height, the key is that the latch and strike line up so the gate doesn’t need a shove up or in to catch.
Clearances to aim for: many vinyl gate kits like about 1/2 inch gap at the latch side and 3/4 inch to 1 inch at the hinge side (hinges vary), plus roughly 1 to 2 inches of ground clearance depending on grade and pavers. Follow the hinge manufacturer, then keep gaps consistent top to bottom. A tight top gap and wide bottom gap is sagging in progress.
If the gate is already dragging, an adjustment video like How to adjust a PVC gate can help you understand what to tweak, but adjustments won’t fix a weak post or an unreinforced frame.
Quick troubleshooting for a sagging vinyl gate (and a pre-install checklist)
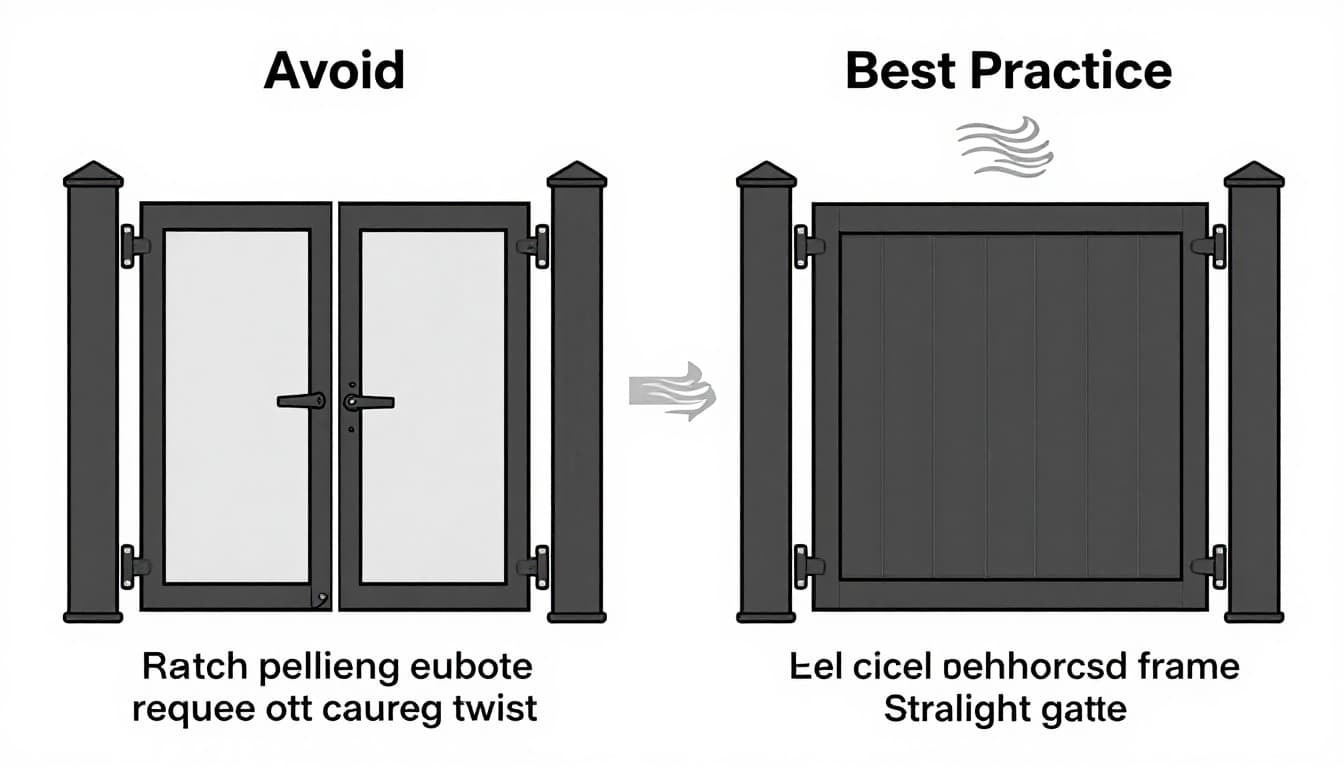 Common “avoid” mistakes next to better installation choices, created with AI.
Use this table to diagnose what you’re seeing before you start drilling new holes.
| Symptom | Likely cause | Fix |
|---|---|---|
| Latch won’t catch unless you lift the gate | Hinge post leaning, hinges too close together | Re-plumb or re-set post if needed, move hinges near top and bottom rails |
| Gate rubs the ground on latch side | Frame racking, no diagonal brace | Add internal reinforcement and a diagonal anti-sag brace/cable (bottom hinge to opposite top corner) |
| Hinges feel loose, screws back out | Hinges mounted only to vinyl, wrong fasteners | Through-bolt into reinforcement, switch to stainless or hot-dipped galvanized hardware |
| Gate swings open or slams shut in wind | No self-closing hinge, poor latch engagement | Use adjustable self-closing hinges where appropriate, set latch for positive catch |
| Gap is tight at top latch corner but wide at bottom latch corner | Post out of plumb or gate out of square | Check post plumb first, then square the gate with reinforcement and hinge adjustment |
Before installation, a short checklist prevents most call-backs:
- Confirm gate width and height, avoid extra-wide single gates without heavier posts and reinforcement.
- Choose a reinforced hinge post (often 5x5 or 6x6 sleeve plus metal insert).
- Set hinge post plumb, brace it, and give concrete enough cure time.
- Mount hinges close to the top and bottom rails, not centered.
- Add internal gate frame reinforcement and a diagonal anti-sag brace.
- Set latch and strike so the gate closes without lifting, dragging, or twisting.
If you’re budgeting a new fence and gate, this Cape Coral fence cost guide can help you plan for the upgraded posts and hardware that make gates behave.
Conclusion
A vinyl gate that stays level is usually the result of three choices: a stiff hinge post , a reinforced gate frame , and hardware placed to stop twisting . When any of those are skipped, you end up chasing alignment with latch shims and hinge tweaks.
If your gate is already sagging, start by checking post plumb and hinge spacing, then look for missing metal reinforcement. Fix the structure first, and the latch becomes a simple adjustment, not a daily wrestling match.