June 5, 2026
Tying a new fence into a screen enclosure sounds simple until the frame is in front of you. One side has to support fence loads, while the enclosure was built to hold screens and resist wind, not carry a rough attachment.
What happens if the wrong part of the enclosure takes the load? The frame can bend, fasteners can loosen, and corrosion can start around the joint. The safest tie-in depends on the enclosure material, the fence type, and local code rules, especially around pools in Southwest Florida.
Start with the enclosure structure, not the fence line
The first step is to find the parts of the enclosure that can actually carry stress. That usually means the main posts, corner posts, or reinforced framing members. It does not mean the screen mesh, spline, or thin rails between panels.
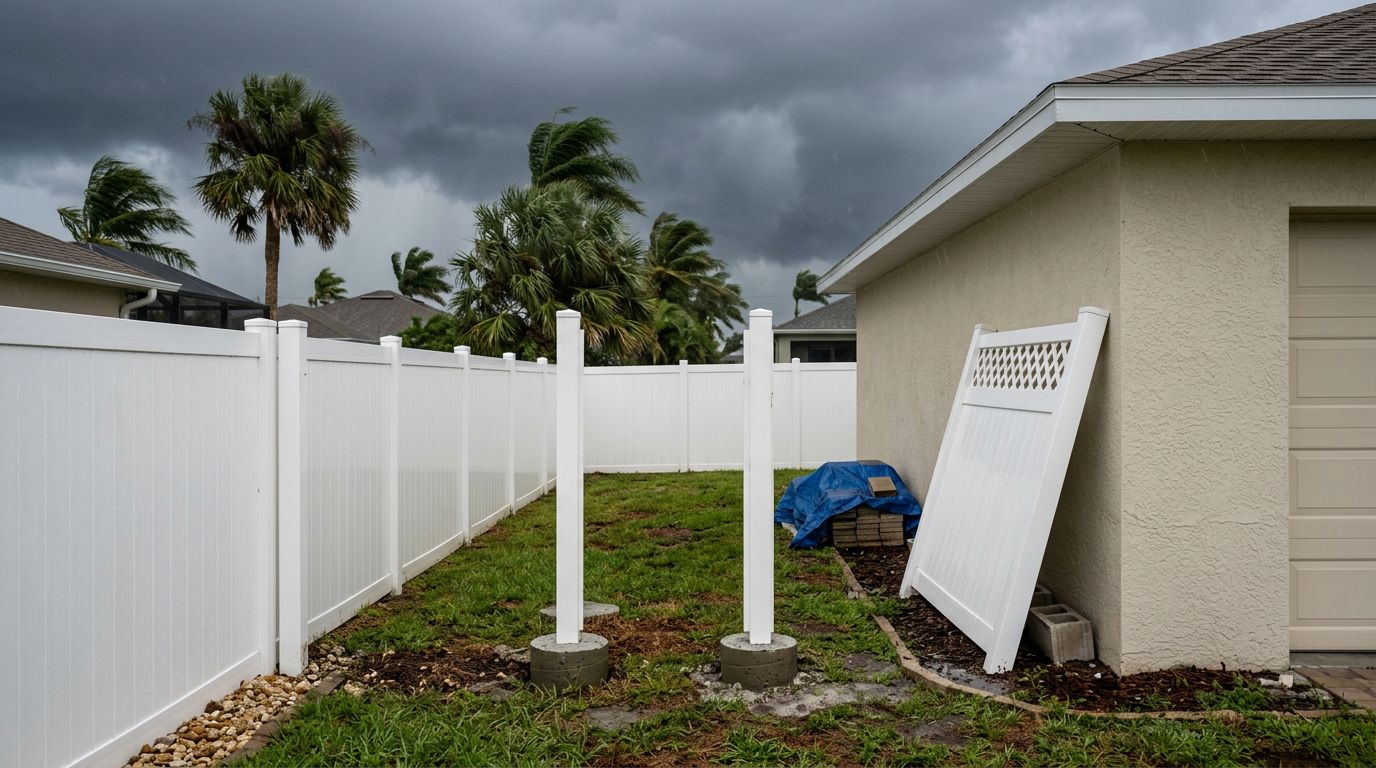
Walk the enclosure and look for damage before you start. Loose anchors, rust, bent aluminum, and old patched holes all matter. If the enclosure already moves in the wind, the tie-in should wait until that is fixed.
A fence should meet the enclosure cleanly, but it should not force the enclosure to become part of the fence system. That distinction protects the frame and keeps the finished line straight.
A tie-in should support the fence, not stretch the enclosure.
If the fence protects a pool area, code is part of the plan from the start. Cape Coral pool fence requirements is a useful reference when aluminum fencing is part of the design.
Match the attachment method to the fence material
There is no single method that fits every project. Aluminum, wood, vinyl, and chain link all behave differently, so the connection has to match the material.
| Fence type | Common tie-in approach | Watch-outs |
|---|---|---|
| Aluminum | Brackets or post adapters with stainless hardware | Keep metals isolated where needed, and hold the line plumb |
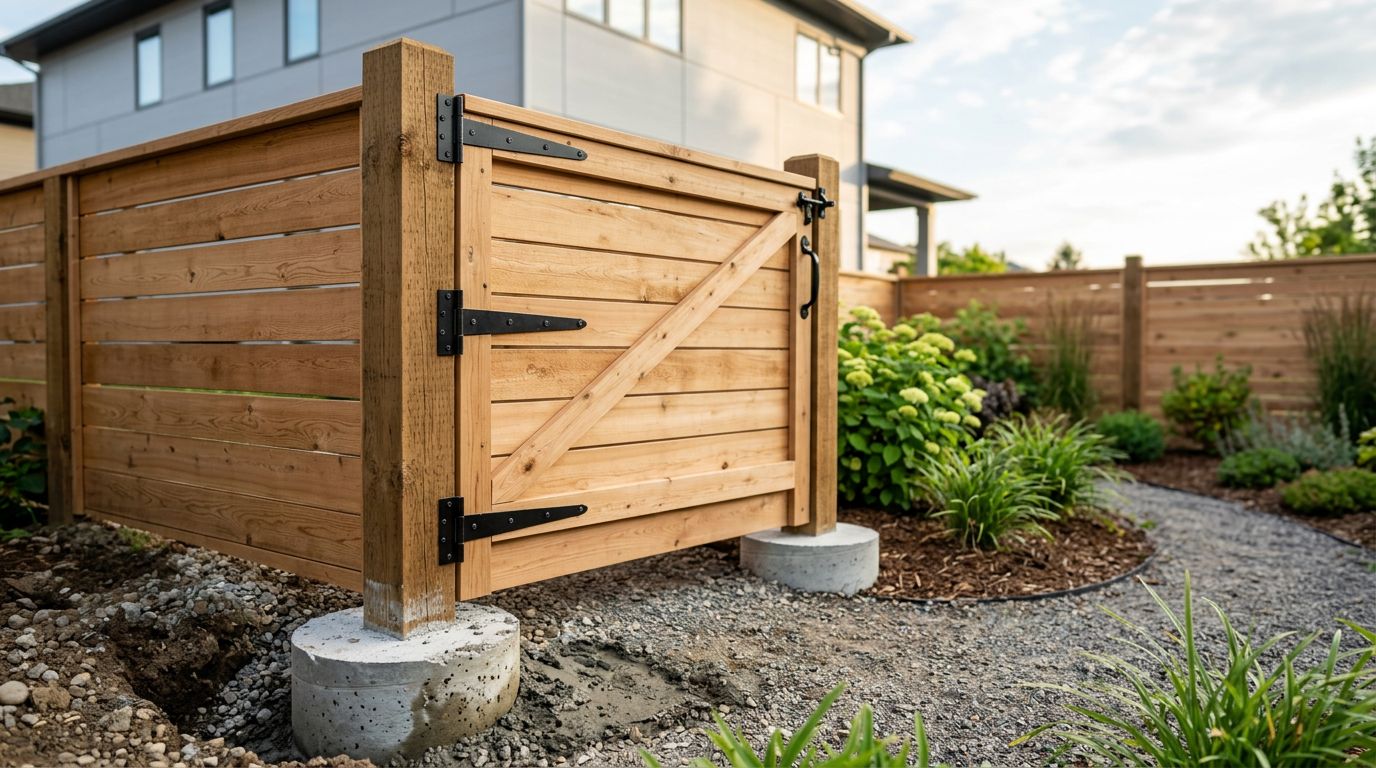
| Wood | A separate end post or framed transition beside the enclosure | Wood moves with moisture, so do not force a rigid joint |
| Vinyl | Manufacturer-approved hardware or an independent post | Vinyl can flex or crack if it is over-tightened |
| Chain link | Terminal posts with a careful end treatment | Keep tension off the enclosure frame |
The pattern is simple. The more the fence moves or carries tension, the less the enclosure should do. In many cases, the best connection is a short transition that makes the two systems meet without making them depend on each other.
That matters even more near salt air and wet weather. Fasteners, brackets, and cut edges need to fit the material and the climate.
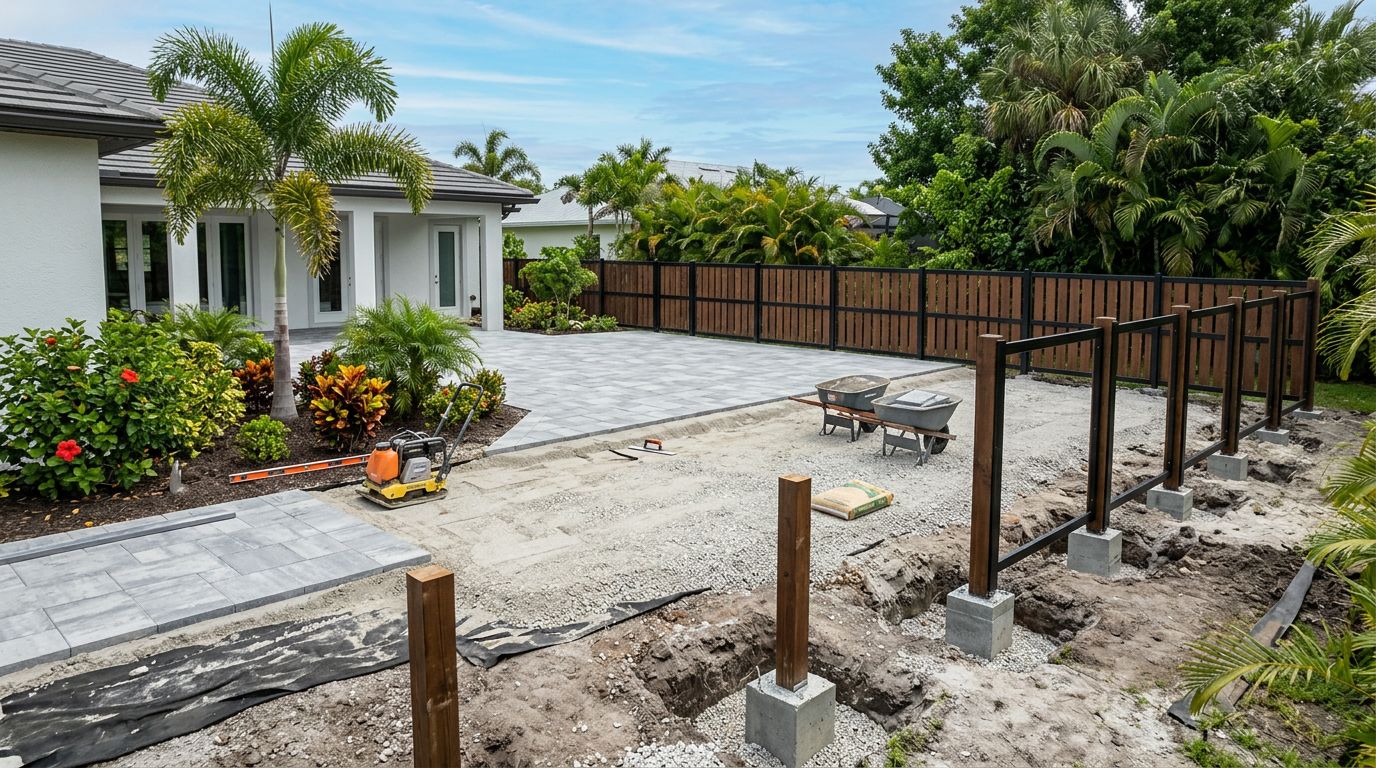
Install the tie-in in the right order
Once the structure and materials are clear, the work becomes a sequence. Rushing the order usually creates problems later.
- Set the fence line first. Mark where the new fence ends and where it meets the enclosure. Check height, slope, and gate clearance before any holes are drilled.
- Use a structural anchor point. Attach to a post or approved frame member only. If the design calls for a separate end post, set that post so the enclosure is not carrying the fence weight.
- Pre-fit the brackets or adapters. Dry-fit the hardware before tightening it. That makes it easier to spot misalignment and avoid putting stress into the frame.
- Use the right fasteners and separators. Stainless steel fasteners are common in coastal Florida because they resist corrosion better than basic hardware. If different metals touch, use isolation pads, washers, or approved barrier materials.
- Check movement before you finish. Push lightly on the fence line and watch the enclosure. The joint should stay stable without twisting the frame or pulling on the screen side.
A careful install takes a little more time, but it saves repair work later. It also makes the transition look planned, not patched together.
Keep the joint strong in Southwest Florida weather
Southwest Florida brings heat, rain, salt air, and strong sun. Those conditions punish weak connections. A small mistake can turn into sagging rails, stained aluminum, or a corroded fastener head that will not budge later.
Keep water out of drilled areas whenever the enclosure manufacturer allows drilling at all. Seal exposed holes with approved products, and avoid trapping moisture where brackets meet the frame. Standing water around the base of the fence or enclosure also creates trouble, so the bottom of the tie-in should stay clear and drain well.
The cleanest-looking connection is often the one that leaves room for the enclosure to do its own job. That means no hard pull on the frame, no sharp edge where people can brush past, and no hardware that sticks out where it can catch on screens, furniture, or hands.
The finish should also make future repairs easier. A screen panel may need replacement later. If the fence blocks access, that simple repair turns into a bigger job.
Keep the transition neat and code-aware
A good tie-in does more than hold. It looks like it belongs there. The fence height should track the enclosure line as closely as the design allows, and the connection should have even spacing with no visible twist.
If the enclosure is older, extra caution helps. Old aluminum can hide wear around the anchors and corners. In that case, a separate fence post beside the enclosure is often a better choice than forcing a direct structural connection.
For homeowners, the goal is a secure transition that feels finished. The fence should meet the screen enclosure without sagging, rubbing, or depending on weak points. When the attachment respects the materials, the whole yard looks more polished and lasts longer.
Conclusion
A new fence can tie into a screen enclosure cleanly, but only when the connection respects the frame. The enclosure should not carry fence loads unless it was built for that purpose, and the hardware should match the material and the climate.
The safest approach is the one that protects structural integrity first, then creates a neat, secure joint. When the fence line, fasteners, and code requirements all work together, the result looks solid instead of forced.