June 6, 2026
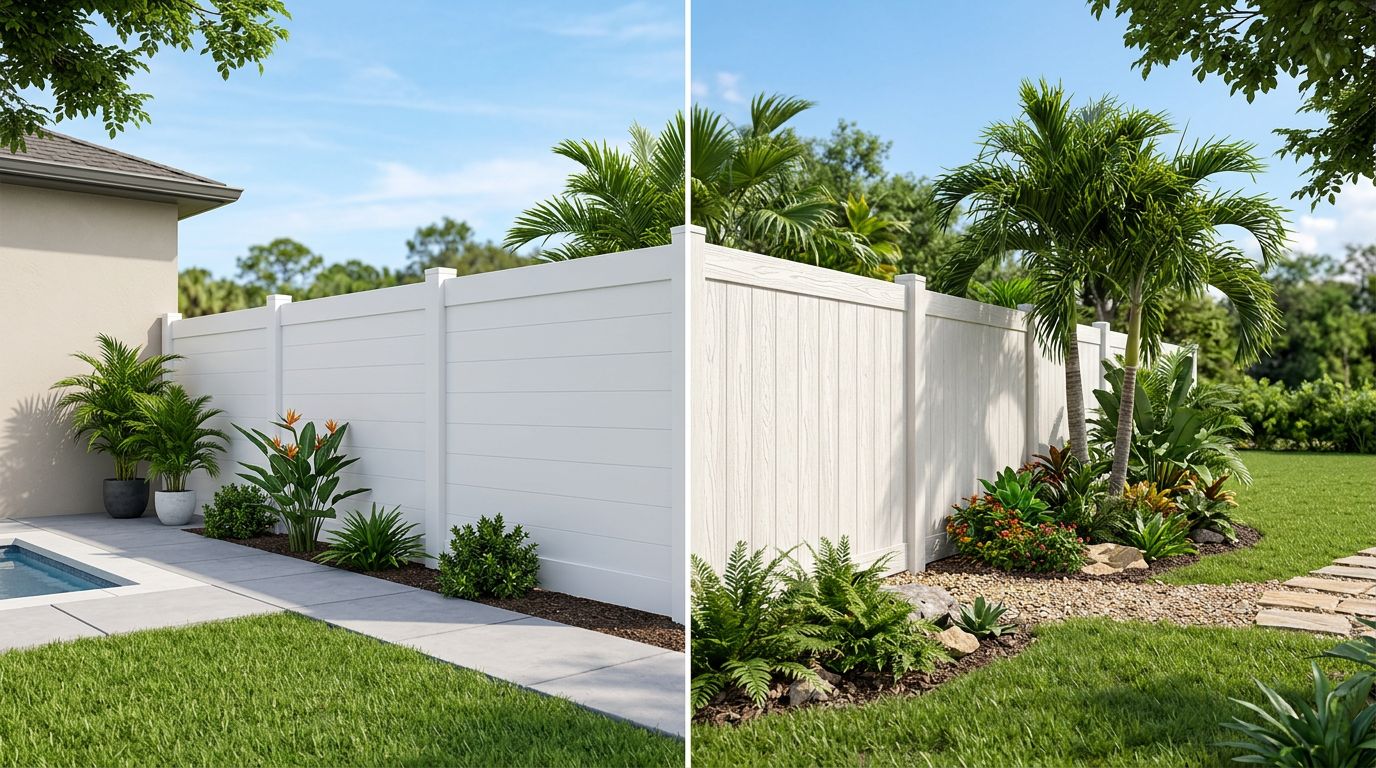
A fence can work fine for years, then suddenly feel incomplete. If you need easier access to a side yard, garden, pool area, or service path, adding a walk gate to an existing fence is often the fix.
The job is simple in concept, but details matter. A gate that hangs on a weak post or lands out of square will sag, stick, and miss the latch.
In Southwest Florida, moisture, salt air, and wind make good hardware and solid support even more important. If budget is part of the decision, current fence gate pricing in Cape Coral gives a helpful local starting point.
The basic process is manageable for many homeowners, as long as you measure carefully and match the gate to the fence material. The steps below keep the project organized and help you avoid the usual trouble spots.
Check the fence before you cut an opening
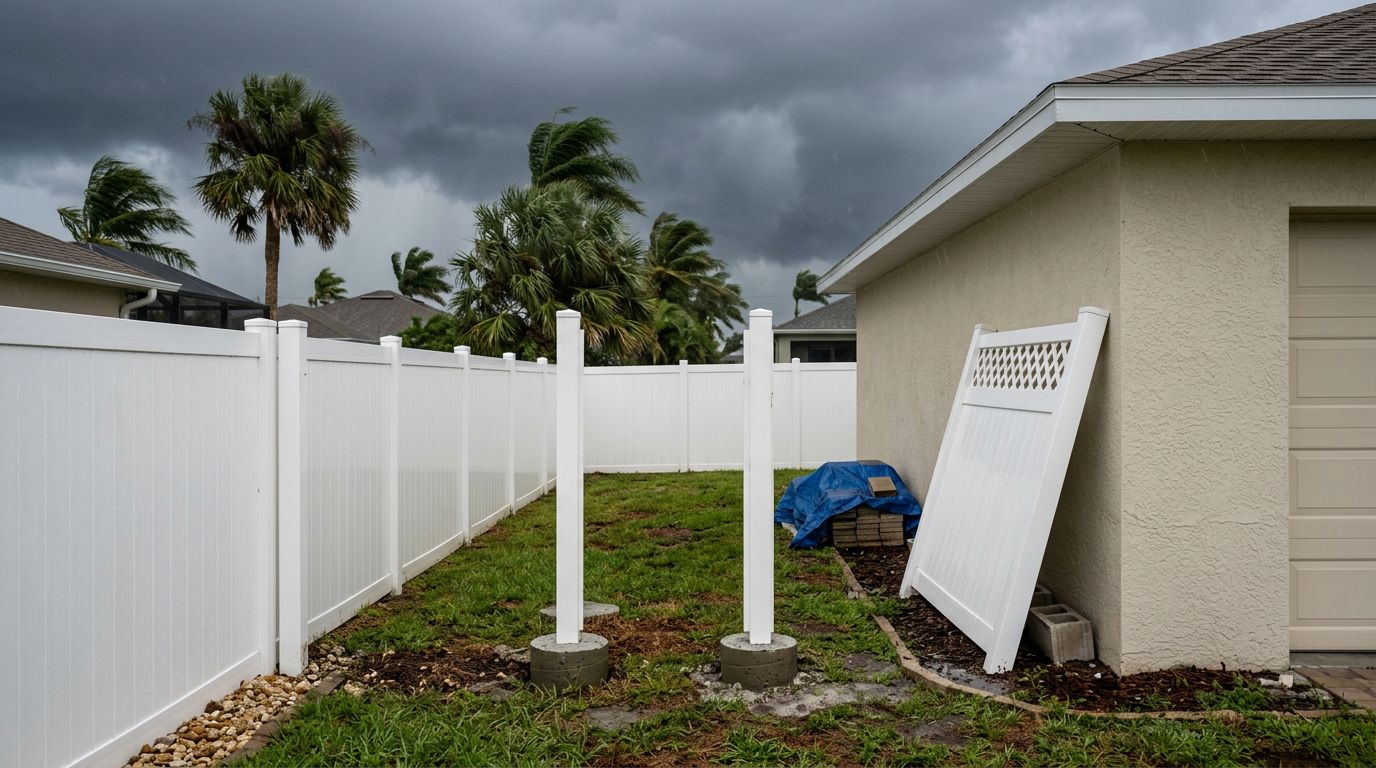
Start with the fence itself. The strongest gate in the world will fail if the nearby posts are loose or rotted. Push on the posts near the planned opening, then check for wobble, soft spots, rust, or cracked concrete.
Also think about placement. The gate should open where you have room for it, and the latch side should line up with a solid post. If the ground slopes, plan for the high and low points before you cut anything. A few inches of bad layout can turn into constant rubbing later.
Fence material matters too. Wood, vinyl, aluminum, and chain link all need different hardware and attachment methods. Exact steps can also vary by local code requirements, especially near pools, side yards, and property lines. Some areas need a permit, and some ask for a self-closing latch or a specific latch height.
If the post moves when you push it, the gate will move too.
Before you cut the opening, mark the swing direction and check clearances for plants, pavers, downspouts, and outdoor equipment. A gate should open cleanly, not scrape the ground or hit nearby objects. That small detail saves a lot of frustration later.
Gather the right tools and materials
A tidy setup makes the job easier. You do not want to stop halfway through because the hinge screws are too short or the post mix is missing.
Here's a practical list for most gate installs:
- Tape measure, chalk line, pencil, and a framing square.
- Level, preferably a 2-foot or 4-foot model.
- Drill or driver, with bits that match your fasteners.
- Circular saw, reciprocating saw, or hand saw, depending on the fence type.
- Wrenches, clamps, and a helper for hanging the gate.
- Heavy-duty hinges rated for the gate weight.
- A latch set that matches the swing direction.
- Concrete mix, gravel, and a post hole digger or auger, if you need a new support post.
- Galvanized or stainless fasteners, which hold up better in coastal weather.
- Shims, especially for final hinge adjustments.
- Exterior sealant or wood preservative, if you cut into a wood fence.
If the fence is wood, plan on sealing cut ends after trimming. If it's vinyl or aluminum, use the hardware made for that system whenever possible. Chain link gates usually need a different set of bands, caps, and frame pieces than a privacy fence.
A helper is worth more than another tool here. Gates are awkward, and one person rarely gets a clean hang on the first try.
Add the walk gate step by step
Once the opening is marked, work slowly. A gate cut into an existing fence is part carpentry, part layout, and part patience.
1. Mark the opening
Measure the gate width, then add the clearance needed for hinges and latch hardware. Mark both sides of the opening on the fence and double-check the height. If the opening is square on paper but cramped on the ground, the gate will remind you later.
2. Remove the fence section
Cut or unfasten the fence section where the gate will go. Work carefully so you do not damage nearby pickets, rails, or posts. If the gate will sit between two existing posts, confirm that both posts are strong enough to carry the load.
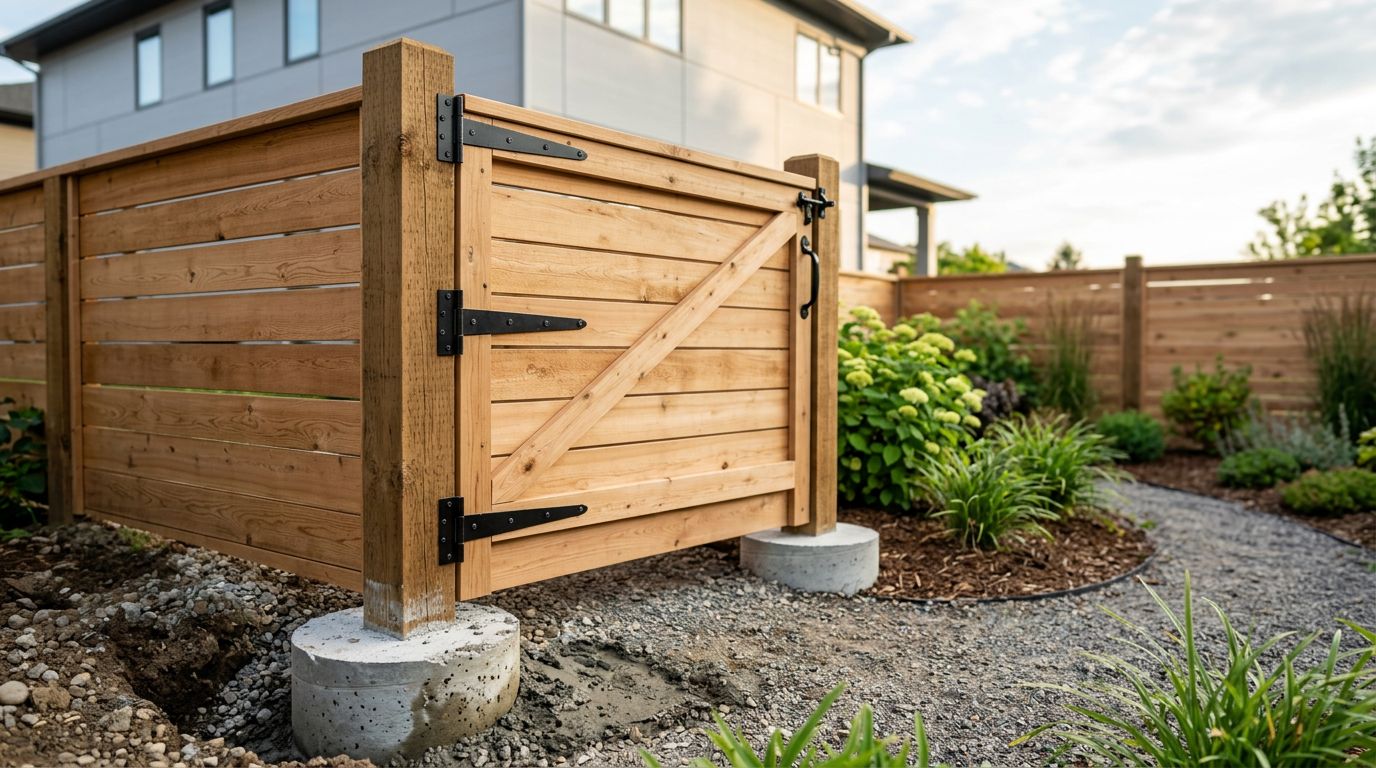
3. Reinforce or replace the post
A gate needs a solid hinge side. If the current post is weak, install a new one or reinforce the old one before hanging the gate. Set the post plumb, brace it, and use concrete if the design calls for it. Give concrete enough time to cure before loading the gate.
4. Build or fit the gate frame
Some homeowners buy a prebuilt gate. Others build one to match the fence. Either way, the frame should stay square. If you build it yourself, add a diagonal brace that runs from the bottom hinge side to the top latch side. That brace fights gate sag and helps the frame hold its shape.
5. Hang the gate with temporary spacers
Use shims or blocks to hold the gate at the right height while you attach the hinges. Keep even gaps on the top and latch side. Small spacing errors add up fast, so check the level more than once before tightening anything.
6. Install the latch last
Do not mount the latch first and hope the gate lines up. Hang the gate, test the swing, and then position the latch so it meets the strike cleanly. The best latch alignment comes from a gate that already swings freely.
7. Test the swing and make small fixes
Open and close the gate several times. Watch for rubbing, twisting, or a latch that lands too high or too low. Tighten the hardware, trim any snag points, and adjust the hinges as needed. A few small changes now are easier than daily fighting later.
If you are adding the gate to a wood fence, seal exposed cuts after final fitting. If the fence is vinyl or aluminum, make sure all fasteners match the system and do not crack the material when tightened.
Keep the gate from sagging later
A gate usually fails in the same few places. The hinge post shifts, the frame twists, or the latch drifts out of line. You can avoid most of that with a few smart choices.
First, use hinges that match the gate weight. Cheap hinges may hold for a while, but they often start drooping once the gate gets used every day. Through-bolts are stronger than short screws on many wood gates, and they make a big difference on heavier panels.
Second, keep the gate frame square. Measure both diagonals before final assembly. If the numbers do not match, the frame is out of square. Fix that before you hang it, because the gate will never swing well if the frame starts crooked.
Third, pay attention to the hinge post. A post set too shallow or left unbraced can lean after the first few storms. That matters even more in coastal areas, where wind and moisture can work on the hardware year-round.
For wider or heavier openings, a wheel can help, but only if the ground is smooth enough for it. On many standard walk gates, a better frame and stronger post solve the problem without adding extra parts.
When the project is better left to a pro
Some openings are straightforward. Others get complicated fast. A gate near a pool, a sloped driveway edge, or a damaged fence line can need extra work before the gate is safe and legal.
A pro can also help when the existing posts are buried too shallow, the fence material is brittle, or the opening needs to match an older fence style. That is common with older wood fences and some vinyl systems. If you want to keep the look clean, a contractor can also match the gate height, latch style, and finish more precisely.
DIY works best when the fence is in good shape and the layout is simple. If the job starts with structural repairs, it stops being a small add-on.
A Gate That Stays Straight
Adding a walk gate to an existing fence is usually a practical upgrade, not a full rebuild. The key is to start with a solid post, use the right hardware, and hang the gate square the first time.
Most problems come from skipping the setup. When the opening is measured well and the hinges are matched to the load, the gate opens cleanly and the latch lines up without a fight.
Take your time with the prep, and the fence will work like it was built that way from the start.