May 8, 2026
A fence can look finished and still hide a few expensive problems. That is why this Cape Coral fence checklist matters before you make the final payment.
A few minutes on site can catch a gate that drags, a post that leans, or paperwork that is not complete. It can also save you trouble with permits, HOA rules, drainage, and coastal wear later.
If you want the bigger picture on the install process, what to expect on fence install day pairs well with this final review. Use the walkthrough below like a homeowner, not like a guess.
Start with the contract, not the first glance
Before you study the fence itself, compare it with the signed agreement and any approved drawing. A smooth-looking fence can still miss the details that matter most.
Use this quick side-by-side check:
| What to confirm | What to look for | Why it matters |
|---|---|---|
| Fence type and material | Vinyl, aluminum, wood, chain link, privacy, or louvered style matches the contract | Wrong materials can mean weak performance or a billing dispute |
| Fence height and layout | Runs, corners, and gate locations match the plan | Small layout changes can create permit or HOA problems |
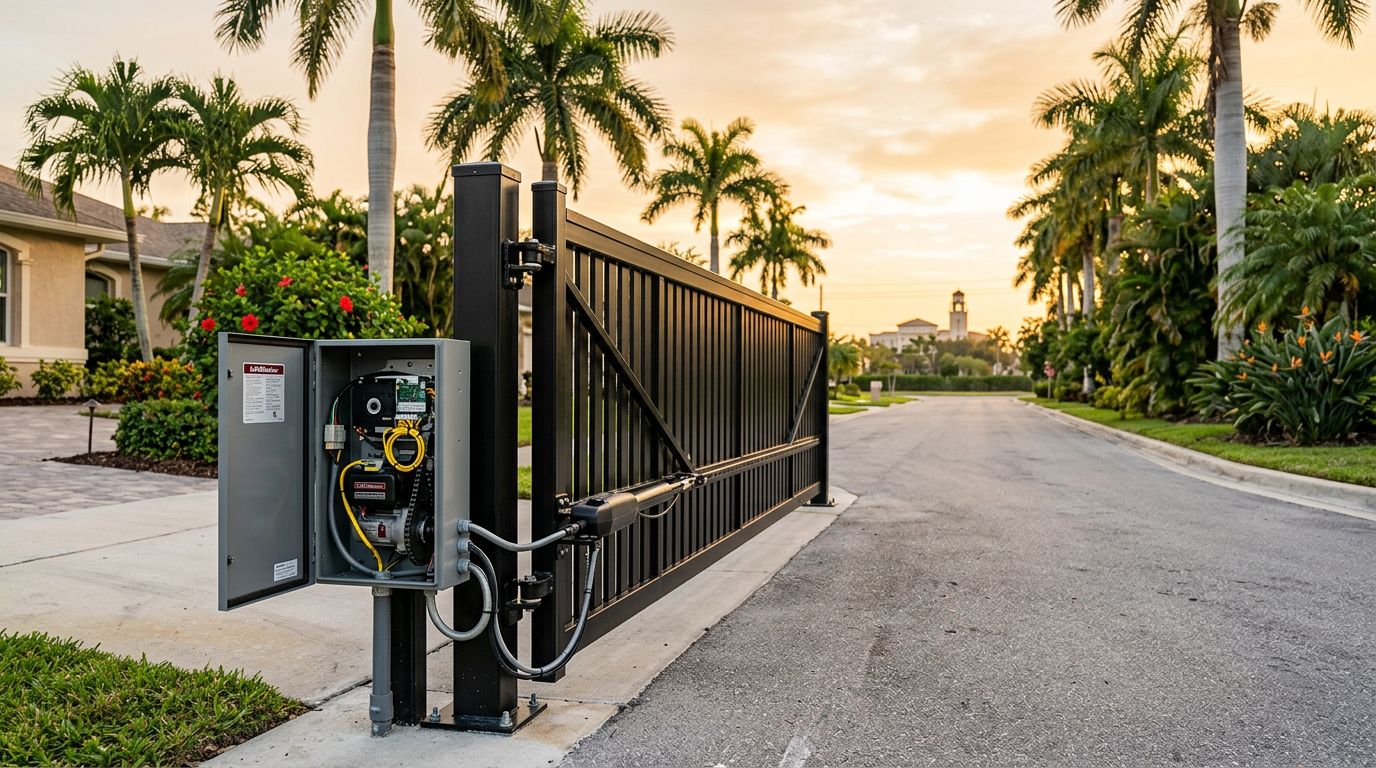
| Gate count and swing | Every gate opens the right way and lands where you expected | A gate in the wrong spot gets old fast |
| Hardware and finish | Hinges, latches, caps, and fasteners match the agreed quality | Cheap hardware fails sooner in salt air |
| Cleanup and disposal | Old fence pieces, concrete chunks, and debris are gone | You should not pay for a messy yard |
Read the paperwork line by line. Then walk outside and check whether the built fence matches the paper. If the two do not line up, slow down before you release the last payment.
If you want help comparing the project to the permit packet, the Cape Coral fence permit checklist is a useful reference point.
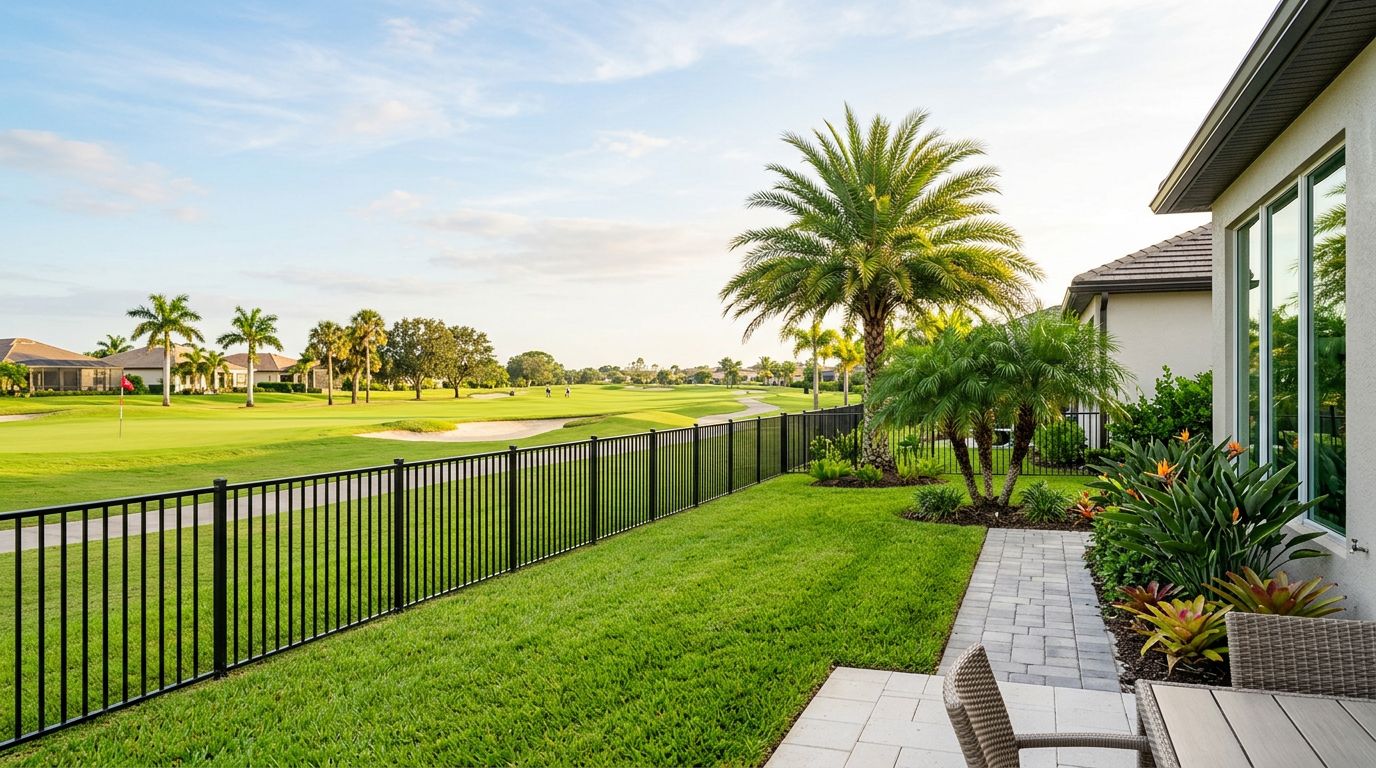
Walk the fence line like you mean it
Now the real check begins. Start at one end of the property and move slowly around the full fence. Look at it from both sides if you can.
A fence that looks fine from the patio can show its weak points from the neighbor side.
Here's what to inspect before you pay in full:
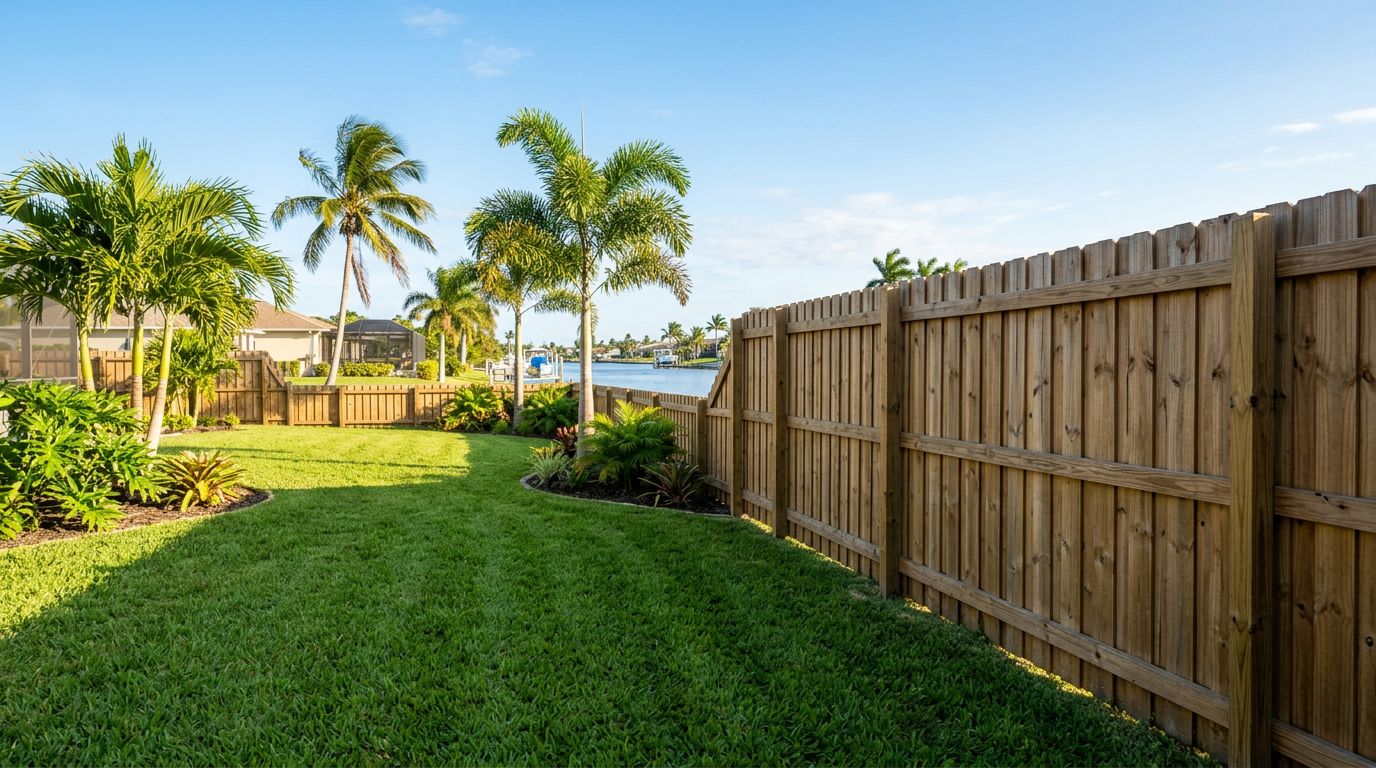
- Straightness . Stand back and look down each run. The fence should read as one clean line, not a series of dips and bumps.
- Post stability . Push each visible post gently. It should feel solid, not loose, twisty, or soft in the ground.
- Gate action . Open and close every gate several times. It should swing cleanly, latch without force, and clear the ground.
- Latch and hinge quality . Check that hardware sits tight, lines up well, and looks built for outdoor use. Rust-prone parts are a bad sign in Cape Coral.
- Panel fit . Gaps, uneven spacing, or crooked pickets stand out fast. They also hint at rushed work.
- Bottom clearance . The fence should sit evenly where it should. If you need privacy or pet control, look for gaps that defeat the purpose.
- Edges and fasteners . Look for sharp points, proud screws, split wood, or rough cuts. These are small issues that become daily annoyances.
- Landscaping and irrigation . Check sprinklers, drip lines, mulch beds, and plants. Southwest Florida yards often take a hit during install, and cleanup should include restoration where needed.
If your fence includes a lot of gate hardware or decorative pieces, inspect those extra closely. They usually reveal whether the crew paid attention to the finish work.
Cape Coral details that deserve extra attention
Cape Coral has its own mix of permit steps, HOA rules, drainage concerns, and storm exposure. Those details matter even when the fence looks good from the street.
Make sure the permit trail matches the finished fence
If your project needed a permit, the final fence should match the approved layout. That includes the fence line, height, and gate placement. If anything changed during the build, ask who approved it and whether the city needs updated paperwork.
The city's Cape Coral Permit Document Center lists current residential fence forms and guideline documents. It's the best place to compare the paperwork against what was installed.
If the permit is still open, ask one direct question: who is scheduling the final inspection, and when? You want that answer before you pay, not after.
Check the survey, corners, and easements
Fence disputes often start with one simple problem, the fence is not where everyone thought it was. That is why the survey matters as much as the lumber or panels.
Compare the fence line to your property survey, corner markers, and any easements. If the yard backs up to drainage areas or a canal, that matters even more. A fence that crosses the wrong space can turn into a neighbor issue or a city correction later.
If you need a refresher on what to look for before layout changes, our property line surveys for fences guide explains the key items to verify before anyone starts digging.
Confirm HOA approval if you live in a community
HOA rules can be stricter than city rules. In many neighborhoods, the approved height, color, and style matter just as much as the permit.
Check your HOA approval letter or email against the fence in your yard. If the board approved a specific color, finish, or side-facing direction, make sure the crew followed it. The same goes for any screened or decorative sections.
A city-approved fence can still violate community rules. That is why the HOA paperwork should live in the same folder as the permit and final invoice.
Look at drainage, salt air, and storm strength
Southwest Florida weather is hard on fences. Heavy rain, salt air, and strong wind expose weak work fast.
Pay close attention to these points:
- The fence should not block a swale or drainage path.
- Posts should feel firm in their concrete footings.
- Hardware should look corrosion-resistant, not thin or unfinished.
- Metal parts should not already show rust stains.
- Long runs should stay even, without obvious sway or flex.
A fence that traps water or bends too easily is not finished well, even if it looks neat on day one. In Cape Coral, the build quality has to survive more than one sunny afternoon.
Don't skip the cleanup, warranty, and final invoice
The last part of the walkthrough is easy to rush. Don't. This is where the job gets tied up cleanly, or not at all.
Ask for the leftover materials to be removed. That includes broken stakes, scrap boards, cut-offs, concrete bits, wire, and packaging. Walk the yard once more and look for staples, screws, and other small hazards. If you have pets or kids, this step matters a lot.
Then collect the paperwork. You should have the warranty in writing, plus any care instructions for wood, vinyl, aluminum, or chain link. If the installer promised stain, sealer, or touch-up work, make sure it is documented before you pay.
It also helps to compare the final bill with the original quote and any approved change orders. The numbers should make sense without guesswork. If something changed during the job, the paperwork should explain it clearly.
Conclusion
A fence final walkthrough should feel calm and methodical. If the contract matches the build, the gate works, the posts are solid, and the site is clean, you're in good shape.
The smartest final payment is the one you make after the details check out, not before. In Cape Coral, that means paying attention to permits, surveys, HOA rules, drainage, and materials that can hold up in heat, rain, and salt air.
When those boxes are checked, the fence is ready for real life, not just for a first look.